Jobs
ImageMaster has an internal background job processing system. For an overview of existing jobs also see the system manual [SM IS] (Internal background job system). In the System > Jobs tab you can view and adjust the jobs:
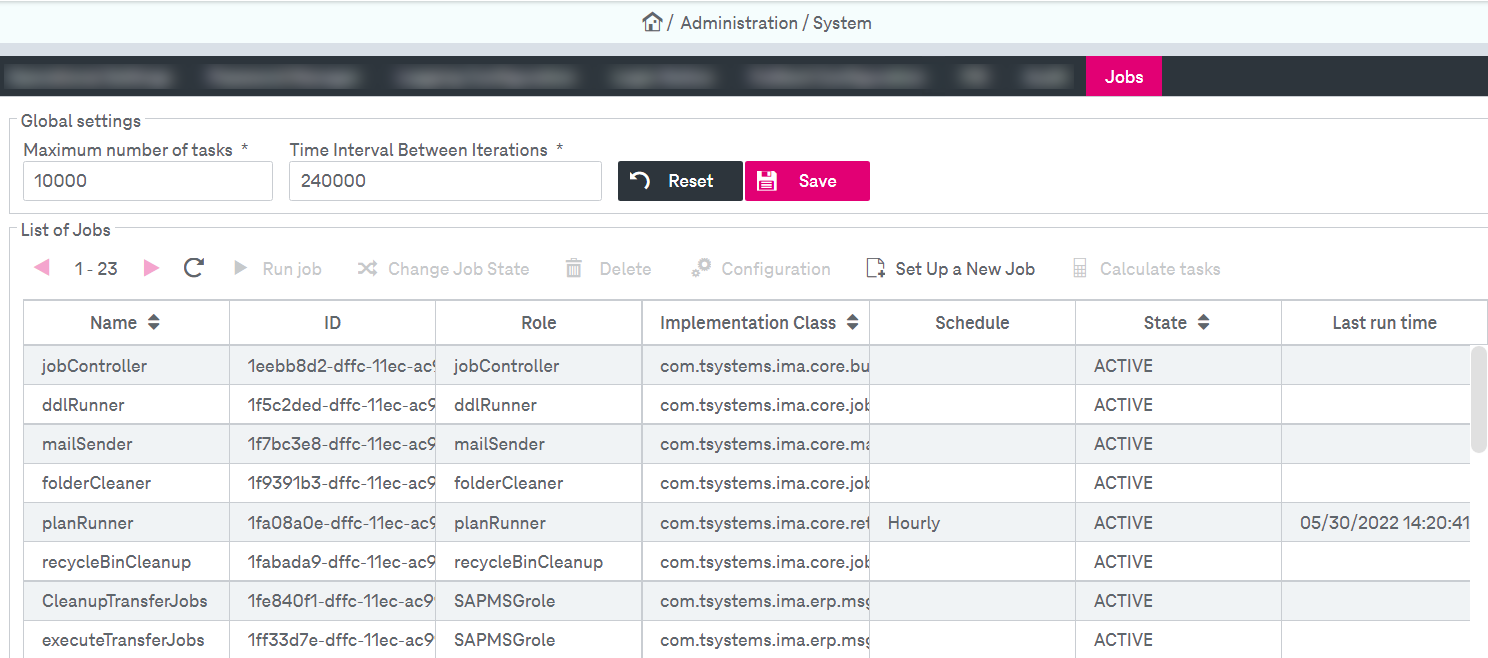
Figure 69: System – jobs
To define job global settings:
-
Adjust the parameters on the top of the page (see the table below).
-
Click Save.
|
Parameter |
Description |
|---|---|
|
Maximum number of tasks |
Maximum number of tasks per iterator call of a job |
|
Time Interval between Iterations |
A time interval in milliseconds defining how often the JobWorker will run the task iterator |
|
Table 16: System – job parameters |
|
You can perform the following actions with jobs:
-
run a selected job
-
change a job state
-
define a new job
-
delete a job
-
configure a job
-
Select the job you want to configure from the List of Jobs.
-
Click Actions and Run Selected Job Now.
If you have started a selected job but observe that related background tasks are not executed as expected, the job may be locked. See Locked jobs for related troubleshooting tips.
To change a job state
-
Select the job you want to configure. You cannot select a system job.
-
Click Actions and Change Job State.
-
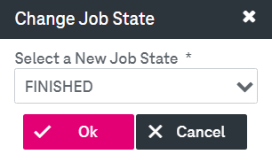
Select the state from the list. The following states are available: “NEW”, “ACTIVE”, “HOLD”, “FAILED”, and “FINISHED”.
-
Click Ok to confirm your changes.
To define a new job
-
Click Actions and select Set Up a New Job. The following dialog appears:
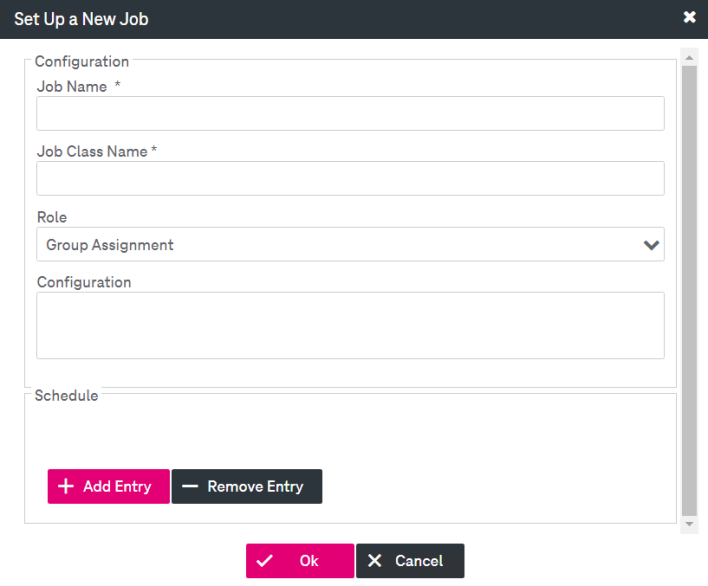
Figure 70: System – jobs: set up new job
-
Specify the Job Name and the Job class name.
-
Select the Role that should be used to run the job.
-
Specify the job configuration string in the Configuration field for the job to be created.
-
Define the job schedule in the Schedule panel:
-
Add schedule entry by clicking Add Entry.
-
Specify schedule types. Depending on selected type, schedule is configured differently, see Jobs – schedule parameters for description of the parameters that should be configured when selecting schedule of each type.
-
If desired, click Remove Entry.
-
Optionally set the Maximum number of tasks per iteration call of a job.
-
-
Click Save to finalize the settings.
To configure a job
-
Select the job you want to configure. You cannot select a system job.
-
Click Actions and select Configuration. The job properties are shown in the dialog.
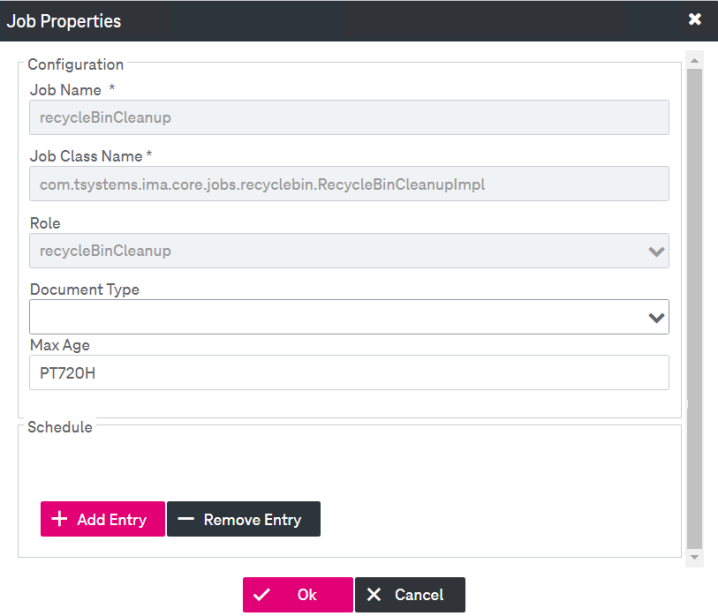
Figure 71: System – jobs: job properties
-
Specify the adjustable property fields. The configuration view depends on the type of the selected job.
The example above displays recycle bin cleanup job with the following job specific configuration parameters:
-
Document Type: Technical name of the document type for that the job is applied (optional).
-
Max Age: The maximum amount of time that job is allowed to be used. The time is entered in ISO 8601 format, e.g. “P7D” for “7 days” or “PT12H” for “12 hours” (optional).
-
-
Define the schedule settings, see Jobs – schedule parameters below for details.
-
Optionally set the Maximum number of tasks per iteration call of a job.
-
Confirm your changes by clicking Ok.
To delete a job
-
Select the job you want to delete.
-
Click Actions and select Delete Job.
-
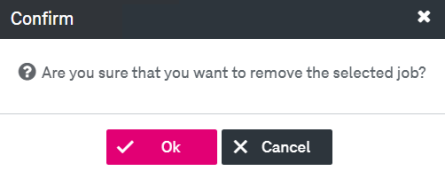
Confirm the deletion in the dialog by clicking Ok.
See the table below for the job schedule parameters:
|
Schedule type |
Description |
Parameter name |
Parameter description |
|---|---|---|---|
|
Always |
Causes the job to be executed as often as possible (every time the job timer interval elapses) |
N/A |
N/A |
|
Hourly
|
Repeats execution in an hour interval
|
Hours between executions |
Hours between executions (default is 1) |
|
Minute |
The minute of the hour at which to execute (0-59) |
||
|
Event
|
Executes a job when an event is signaled
|
Event ID |
The event ID (optional if name is specified) |
|
Event name |
The event name (optional if ID is specified) |
||
|
Once |
Causes the job to be executed once |
Execution date and time |
The execution date time |
|
Weekdays |
Causes the job to be executed once per weekday (Monday - Friday) |
Execution time |
The execution time |
|
Daily |
Causes the job to be executed once a day |
Execution time |
The execution time |
|
Weekly
|
Causes the job to be executed once a week
|
Execution time |
The execution time |
|
Day of the week |
The day of the week to execute the job on as a string (“monday”, “tuesday”, ...) |
||
|
Monthly
|
Causes the job to be executed once a month
|
Execution time |
The execution time |
|
Day of the month |
The number of the day in the month to execute on or “last” |
||
|
Yearly
|
Causes the job to be executed once a year
|
Execution time |
The execution time |
|
Month |
The number of the month to execute on (1 = January) |
||
|
Day |
The day in the month to execute on |
||
|
Interval
|
Causes contained entry to be executed only in a given time period
|
Entries |
List of schedule entries |
|
First |
The first execution time (optional) |
||
|
Last |
The last execution time (optional) |
||