Tenant settings
A multitenant system can manage different customers or projects in one environment while keeping the data for each tenant segregated. On the tenant configuration page, such tenants can be activated according to the available licenses. Up to 64 tenants are supported. Tenant settings also determine the customized look and feel covering aspects of colors, font styles and logos, for example.
The AdminClient cannot be used to create or delete tenants. Tenants are rather created during system deployment and can only be disabled.
-
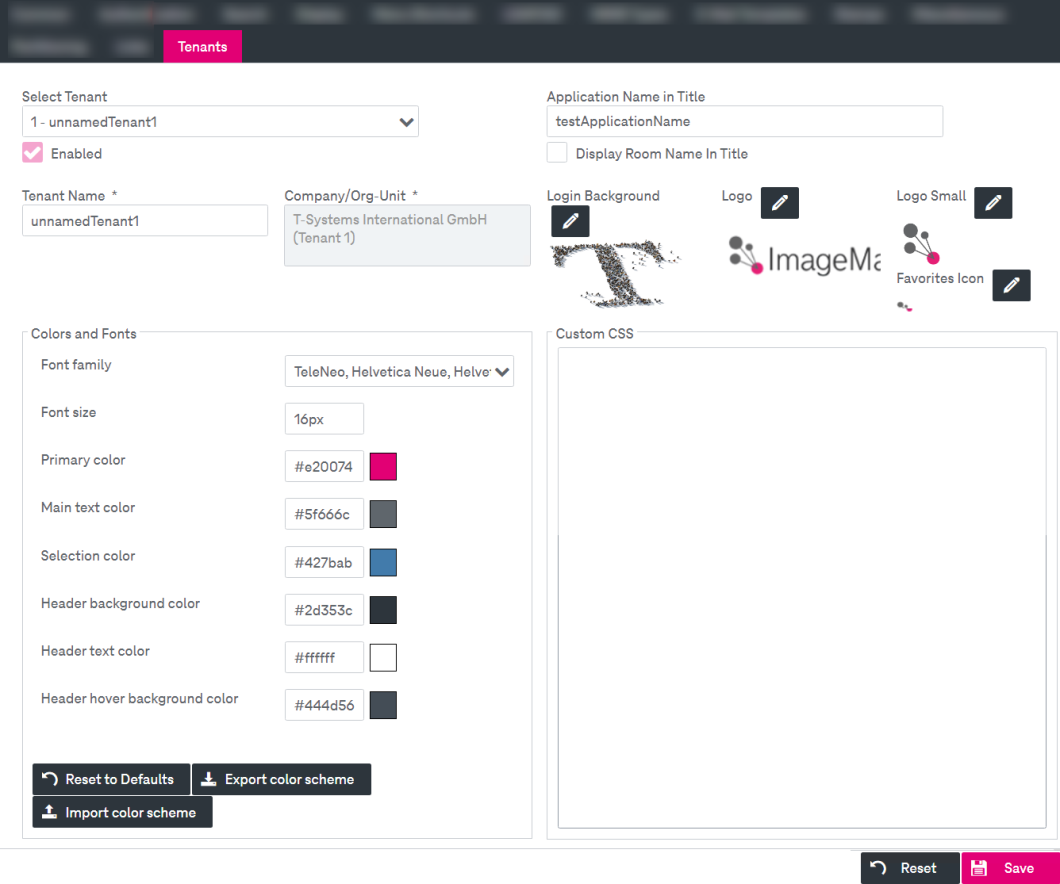
Click the Operational Settings > Tenants tab to configure common settings for tenants:

Figure 38: System – operational settings: tenants
You can perform the following actions:
-
activate or deactivate tenants
-
configure custom layout settings (name, logo, login background, color, fonts, icon, custom CSS)
-
import or export tenant-specific color scheme
-
initialize a multitenancy environment
To activate or deactivate a tenant
-
Select the tenant whose status you want to change.
-
Select or clear the box Enabled for the corresponding tenant to activate or deactivate.
The tenant status will be changed to Active.
-
Click Save.
To configure custom layout settings (name, login background, logo, color, fonts)
-
Select a tenant.
-
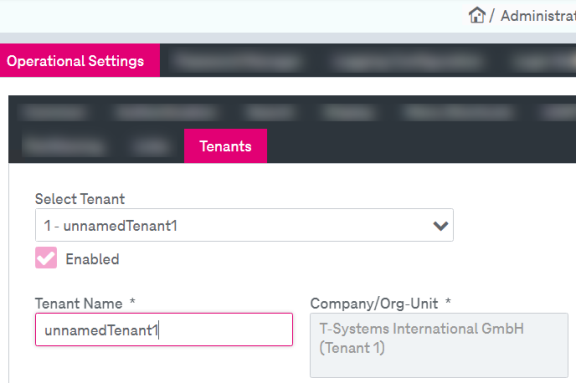
Adjust Tenant Name as desired:

Figure 39: System – operational settings: renaming a tenant
Tenant names should be defined initially before the system is accessed by an end user for the first time.
You should only rename a tenant in a scheduled downtime with no users being online. Renaming a tenant in a running system invalidates currently active user sessions and users will be forced to log in again!
If multiple tenants have been activated, a tenant may be specified either in the URL or by using a tenant HTTP header. The latter option with a header must be configured by the system administration. See [IM ImageMaster] for more information. A URL-based mode (default) and a header-based mode are mutually exclusive.
-
To change the default application name that is displayed in the browser tab, enter the new name in the field Application Name in Title.
Optionally select the box Display Room Name In Title to display the configuration room name added after the application name in a browser window tab.
-
To change the background image that will be displayed on the login page, click the pencil icon
 near the login background label and select a file in the Upload New Login Background dialog to be uploaded from your system. The recommended size in pixels is 1920 x 1080.
 -
To change the logo that will be displayed on each ImageMaster Client page, click the pencil icon
 near the logo label and select a file in the Load new Logo dialog to be uploaded from your system. Two kinds of logos can be set up:
-
Logo is used in common desktop views (recommended size in pixels is 250 x 75).
-
Small Logo is used in small screens, e.g. on mobile phones or tablets (recommended size in pixels is 100 x 100).
-
-
To specify the favorites icon, click the pencil icon
 near the Favorites Icon label and upload a new icon that will be displayed as a bookmark icon on the ImageMaster browser tab. The recommended sizes in pixels are 16 x 16, 32 x 32 and 48 x 48. The supported file type is “ico”.
 -
To change the font for the corresponding tenant layout, go to the field Font Family.
It is possible to add custom folders with fonts. Custom folders can be defined by adding the following system property:
ima.aspose.custom.fonts.directory (e.g. "ima.aspose.custom.fonts.directory=C:\tmp\font")
For more details on adding a system property see Changing system properties of an already running system in [IM ImageMaster]
-
To define custom specific colors for various elements of the Client interface, click the corresponding input field and insert a color value. New colors will be displayed in the box near the input field. For more details on ImageMaster colors see appendix ImageMaster branding.
-
To customize the appearance of your theme, insert the corresponding parameters in the field Custom CSS.
-
To refresh all implemented saved changes, click Reset to Defaults. All custom settings will be reset to the preconfigured settings.
-
Click Save.
To export a tenant specific color scheme
-
Click Export color scheme to export the current CSS settings of the selected tenant in Excel format.
-
Specify a directory where the export file will be saved. Optionally change the default name of the export file. The export is performed in the background, so you can continue your work while the export is in progress.
To import a tenant specific color scheme
-
Click Import color scheme to import the current CSS settings of the selected tenant in Excel format.
-
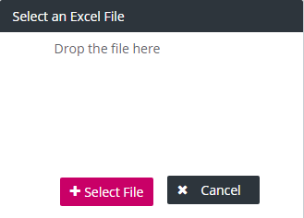
The select file dialog appears:

-
Select the file by clicking Select File or by using the drag-and-drop feature.
-
After upload, the settings will be overridden by the imported color scheme.
To initialize a multitenancy environment
-
In a multitenancy environment, the first tenant, which is always active in any system, will be used for managing the other tenants, i.e. the administration user who initially sets up the system can do the following:
-
Log in as an administration user with sufficient rights (see chapter Default accounts) on the login page. By default the administration user belongs to the first tenant which is always active.
-
Activate and rename further tenants and optionally configure the specific tenant layout settings within the page System > Operational Settings > Tenants as described above.
-
The activation will create a new initial user account based on the role "useradm" for the new tenant with the initial default passwords (see chapter Default accounts).
-
Log off the system and return to the login page.
-
Insert a name of one of the newly activated tenants in the URL address, e.g. http(s)://<host>:<port>/imageMaster/tenant1
-
(If more than one tenant has been enabled, the standard URL does not work anymore. Instead of this, a page is shown that informs the user about forbidden access.)
-
Log in with the initially provided user accounts and start the process for preparing the configuration (see chapter Default accounts).