Manual database setup with Microsoft SQL Server Management Studio
-
Start SQL Server Management Studio
Connect to the database server with a user who has the sysadmin role assigned, for example the predefined “sa” user if it is enabled, or the Windows Administrator via Windows Authentication.
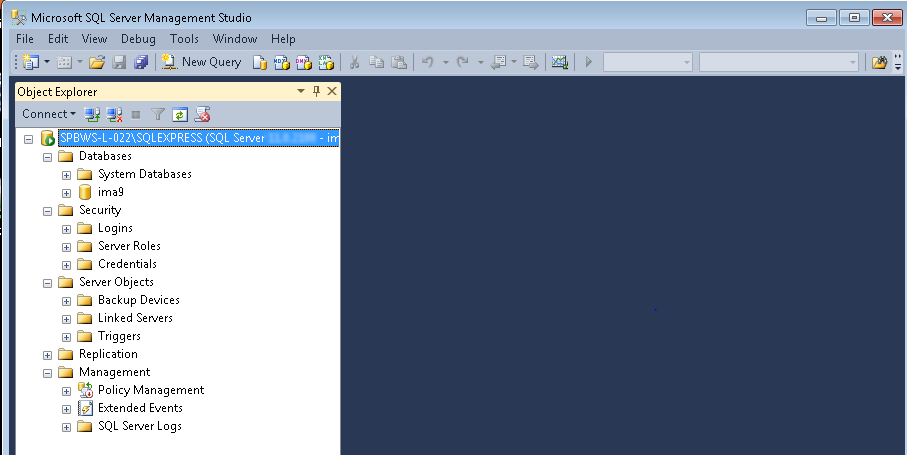
Figure 644: Microsoft SQL Server Management Studio – start page
The Object Explorer tool on the left shows all objects in that database server. The below actions are performed starting from the appropriate item in the tree of the object explorer.
-
Select Security > Logins and with the right mouse button open the context menu and select New Login:
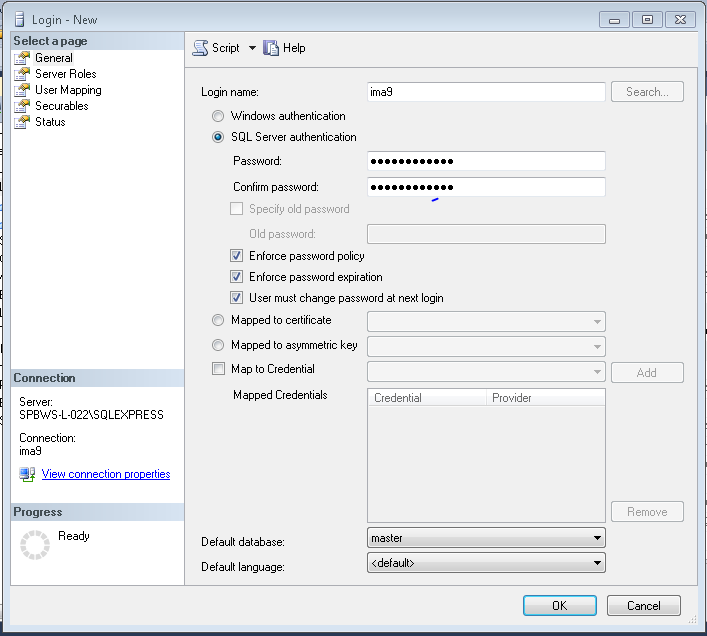
Figure 645: Microsoft SQL Server Management Studio – new login creation
Use SQL Server authentication and set a password and password policy for the user.
Confirm the dialog with OK.
-
Create a new user
Go to Databases > System Databases > master > Security > Users and with right mouse button open the context menu and select New User:
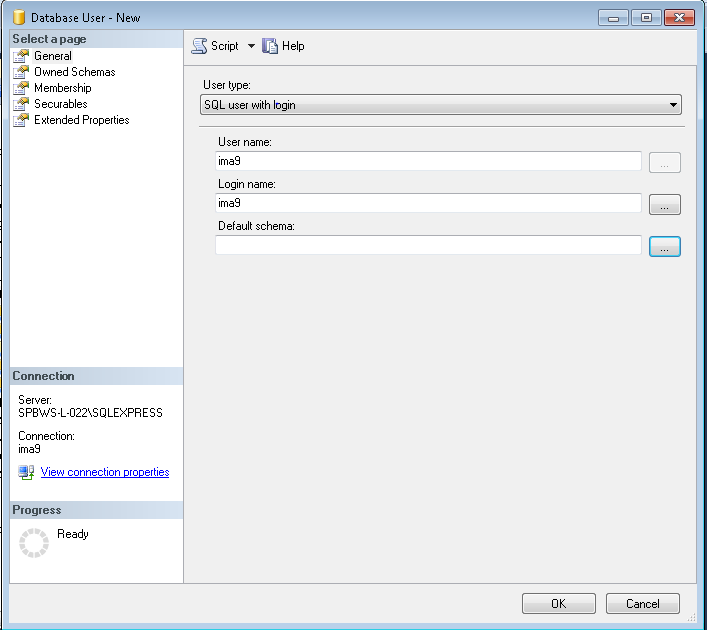
Figure 646: Microsoft SQL Server Management Studio – new database user creation
Set the following parameters:
-
User type: SQL user with login
-
User name: for the user (can be the same as the login name)
-
Login: name created in step “Create a new login” above
-
-
Go to the Membership page and enable membership for the following roles:
SqlJDBCXAUser role (created above in chapter Configuration of XA transactions for JDBC driver).
Confirm the dialog with OK.
-
Right-click on Databases and select New Database from the context menu:
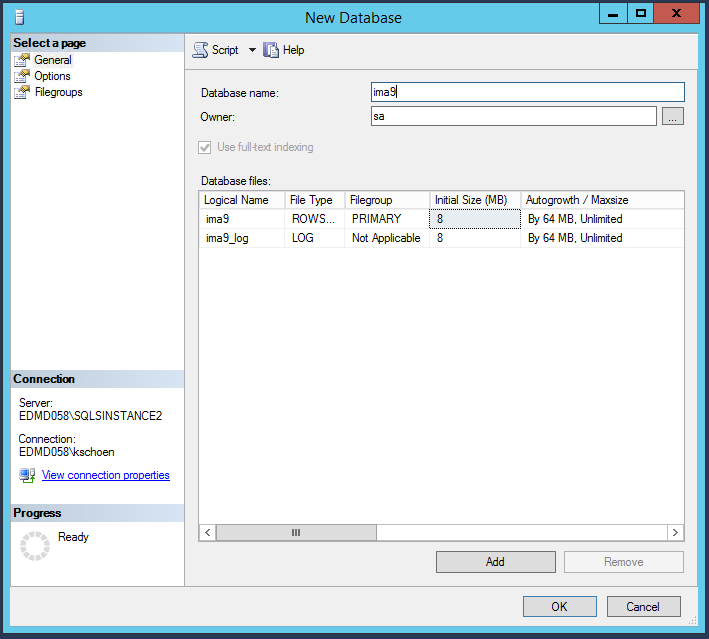
Figure 647: Microsoft SQL Server Management Studio – new database creation
Set the following parameters:
-
Database name: Specify an identification name for the newly created database.
-
Owner: Set to the sysadmin “sa”.
-
Initial Size (MB): Increase the size in a production environment.
An ideal value must be determined individually depending on capacity planning. Multiple public sources are available on the Internet, which provide recommendations such as [ITPro SQL Server Questions].
ImageMaster objects will reside in dedicated file groups that will be created later, so the PRIMARY file group does not need to be increased in size much to cover these ImageMaster specific needs.
-
-
Go to the Options page, set Collation to Latin1_General_CS_AS.
ImageMaster requires a case-sensitive collation set in the MS SQL server database. Full functionality for ImageMaster has been approved with “Latin1_General_CS_AS”. SQL Server collations (which start with the prefix “SQL_”) are not supported.
-
On the Options page, set the parameter Is Read Committed Snapshot On to True:
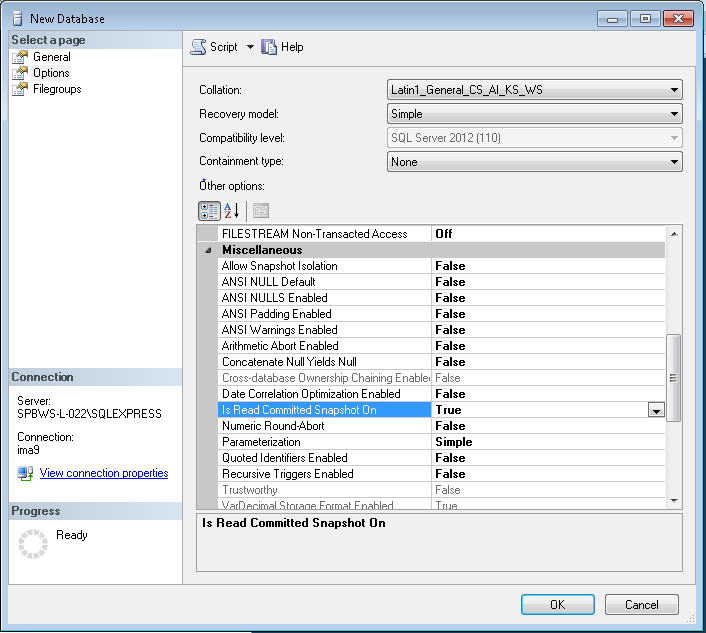
Figure 648: Microsoft SQL Server Management Studio – new database: configuration parameters
-
Go to the Filegroups page and add two new filegroups for ImageMaster:
-
one for ImageMaster 9 tables (e.g. with the name IMA9_TABGROUP as shown below)
-
one for ImageMaster 9 indices (e.g. with the name IMA9_IDXGROUP)

Figure 649: Microsoft SQL Server Management Studio – new database: filegroups
Confirm the dialog with OK.
-
-
Go to Databases > ima9, right click and select Properties:
-
Select the Files page and add new files to both of the filegroups created in the previous step.
-
Initial Size (MB): Increase the size in a production environment.
An ideal value must be determined individually depending on capacity planning. Multiple public sources are available on the Internet, which provide recommendations such as [ITPro SQL Server Questions].
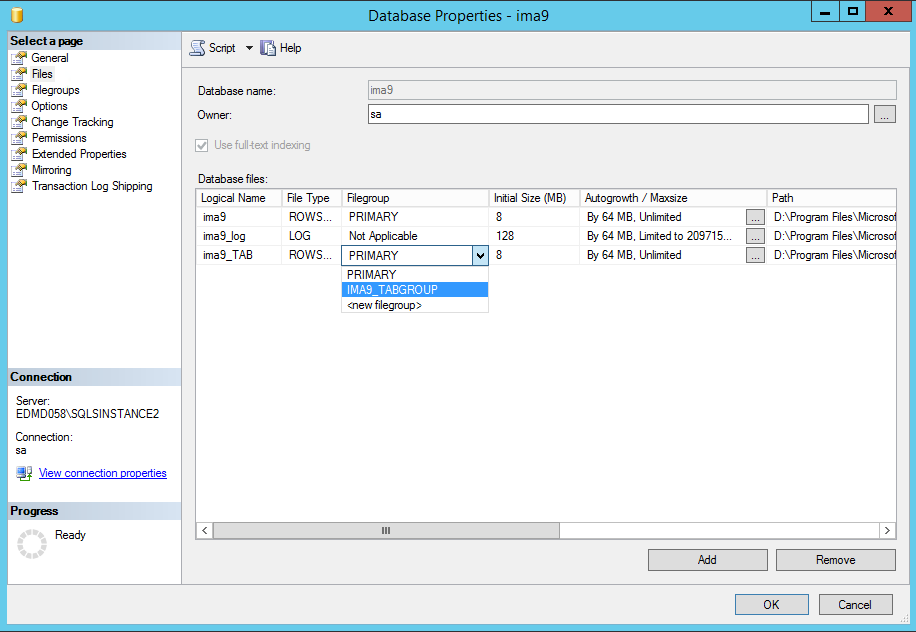
Figure 650: Microsoft SQL Server Management Studio – database properties
Confirm the dialog with OK.
-
-
Go to the Security > Logins, right click on your login name and select Properties:
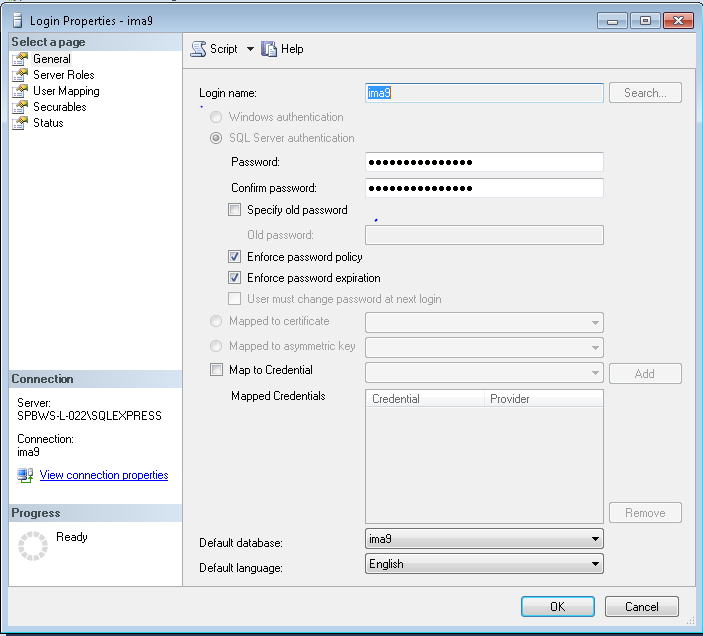
Figure 651: Microsoft SQL Server Management Studio – login properties
Change the default database to the database created in step “Create a new database”.
Confirm the dialog with OK.
-
Create a new user for “ima9” database
Go to Databases > ima9 > Security > Users and with right mouse button open the context menu and select New User:
Set the following parameters:
-
User type: SQL user with login
-
User name: for the user (can be the same as the login name)
-
Login: name created in step “Create a new login” above
-
-
Create new database roles
-
Go to Databases > IMA9_DB > Security > Roles and with the right mouse button open the context menu and select New > New Database Role …:
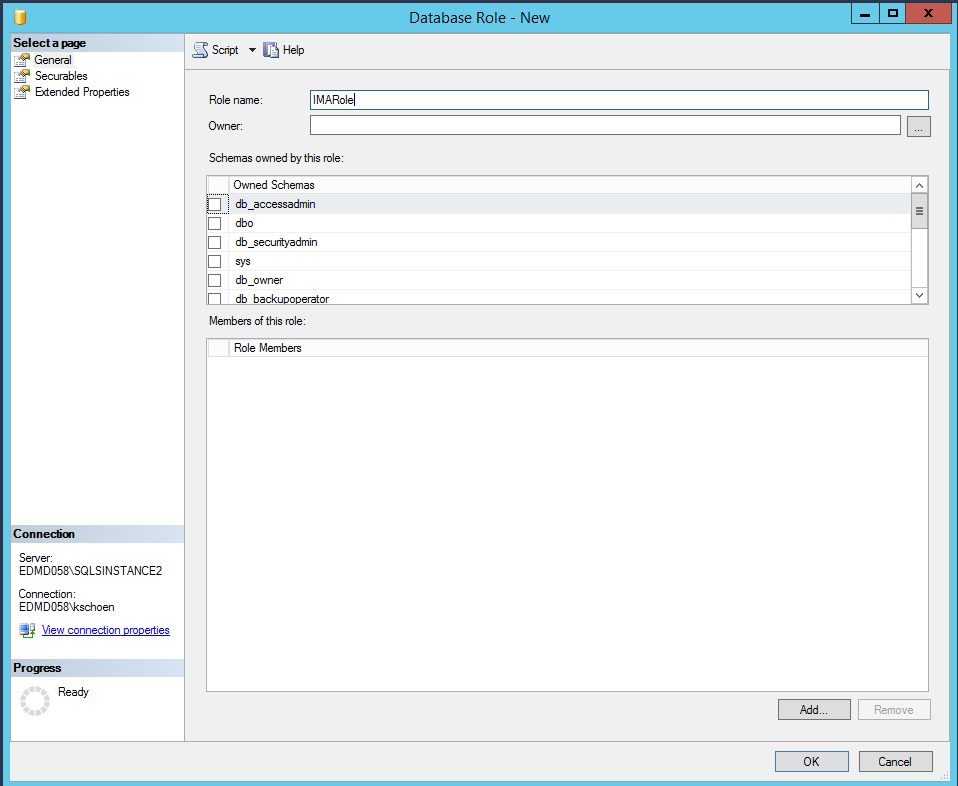
Figure 652: Microsoft SQL Server Management Studio – new database role
-
Add the new IMA9_DB User as member to the custom IMARole, go to General Tab > Role Member > Add….
-
Add the EXECUTE permission to the custom IMARole.
USE [IMA9_DB]
GO
GRANT EXECUTE TO [IMARole];
GO
-
Add the custom IMARole as member to the three needed fixed database roles:
-
Go to Databases > IMA9_DB > Security > Roles > db_ddladmin and with right mouse button open the context menu and select Properties:
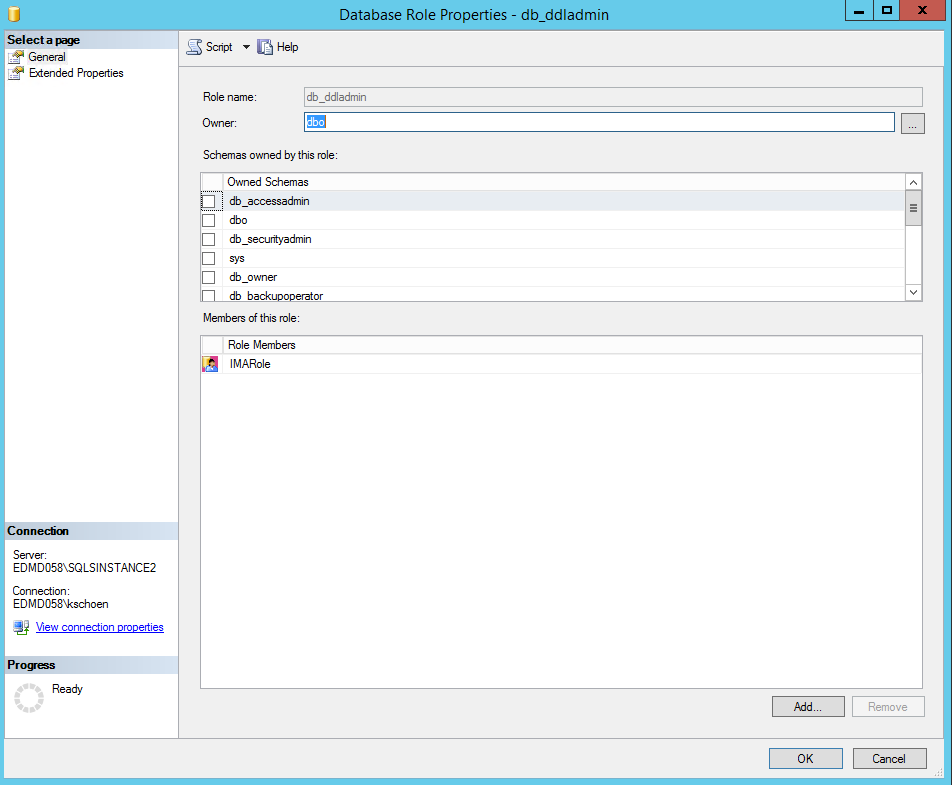
Figure 653: Microsoft SQL Server Management Studio – database role properties
-
Go to General Tab > Role Member > Add… and add the created IMARole.
-
Repeat the above steps for the followings roles:
-
db_datawriter
-
db_datareader
-
-