Two-factor authentication
The two-factor verification adds extra security by requiring you to sign in with an additionally generated code that can only be used once. You need to have an authenticator app installed on your smartphone, which is also used to activate the process in ImageMaster.
Google Authenticator has been successfully tested with ImageMaster. For more information on how to install Google Authenticator and on related topics see:
Activation
To activate two-factor authentication do the following:
-
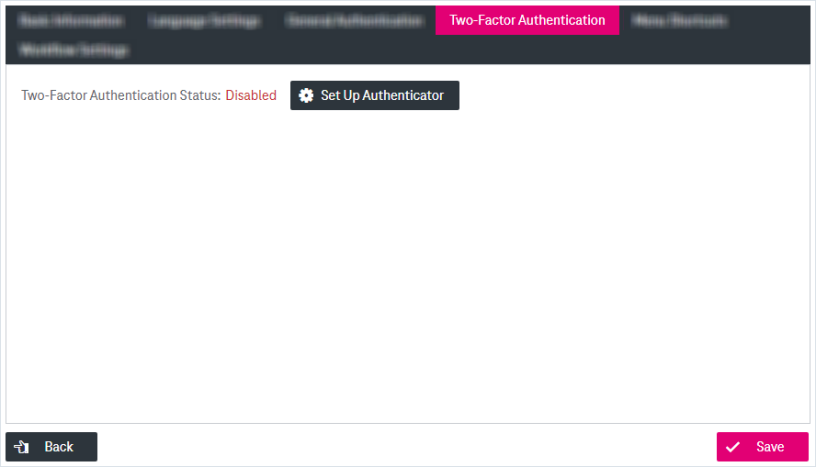
Select Two-Factor Authentication in the user configuration room:

Figure 1077: Two-factor authentication – status and setup
-
Click the button Set Up Authenticator:

Figure 1078: Two-factor authentication – generating verification code
-
Within the authenticator application on your smartphone, scan the QR code with your phone camera or enter the secret key (which is displayed near the barcode as shown in the figure above).
-
The authenticator application on your phone will now generate a new code. Enter this new code in the field Code and click Verify and Save.
When the code is validated, the security key is saved and two-factor verification is activated. The status is changed to Enabled:

Figure 1079: Two-factor authentication – status “enabled”
For every login now a one-time access code must be entered, which is generated on the registered phone.
Backup codes
To provide access to ImageMaster with activated two-factor authentication even in cases when access to the registered smartphone is not possible, backup codes can be generated in advance:
-
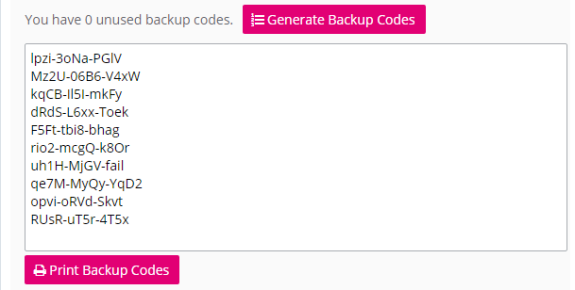
Click the button Generate Backup Codes.
Existing backup codes will be invalidated and new backup codes are shown in the dialog:

Figure 1080: Generating backup codes
Backup codes are visible only immediately after generating them and can be printed directly.
-
Click the button Print Backup Codes.
A PDF document is opened that can be directed to a local printer or stored on the computer.
Changing the mobile device
If the registered smartphone is switched to a new device, the activation process must be rerun:
-
Click the button Move To a Different Phone.
-
Confirm the action.
-
Follow the activation steps.
Deactivation
Click the button Disable. In the dialog window select from the two options:
-
Disable two-factor verification temporarily: The status changes to “Disabled” and can be turned on again by pressing the Enable button.
-
Remove the security key completely: Two-factor verification will be disabled. To use it again the activation process has to be rerun.
Login with generated code
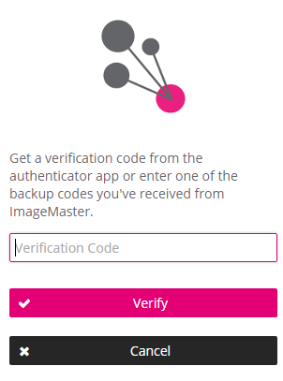
If two-factor verification is enabled, the following window is displayed during login after entering the user credentials:

Figure 1081: Login with enabled two-factor verification
Enter the one-time code, which was obtained according to the steps described above, and click Verify. After successful code verification you will get access to the system.