Configuring failed request tracing (optional)
If an operation occurs that is out of the web service implementation scope, the response cannot be handled or logged by the Coordinator (for example, the request “Archive_EntryId” called by the Outlook Add-In). This means that in case of a failure only a log file is written on the client side, and there is no direct message about the failure displayed to the user.
Do the following:
-
Open IIS for the Content Services for E-Mail.
-
On the right panel, click Failed Request Tracing to configure the tracing:
-
Select the Enable box.
-
Specify Directory for storing the log files.
-
Optionally change the Maximum number of trace files.
Figure 351: Failed request tracing – configure
-
-
In the Ima4MSX Home panel, click Failed Request Tracing Rules to add tracing rules.
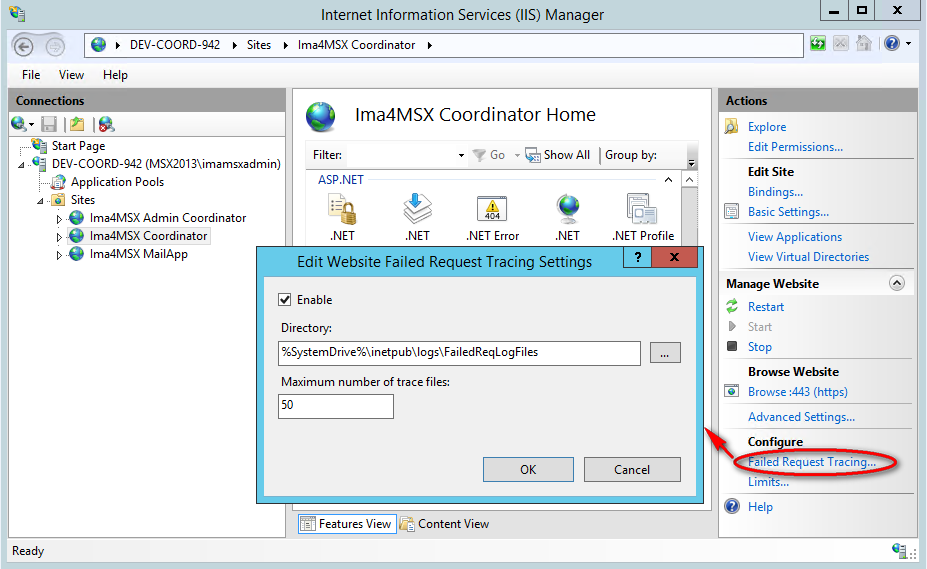
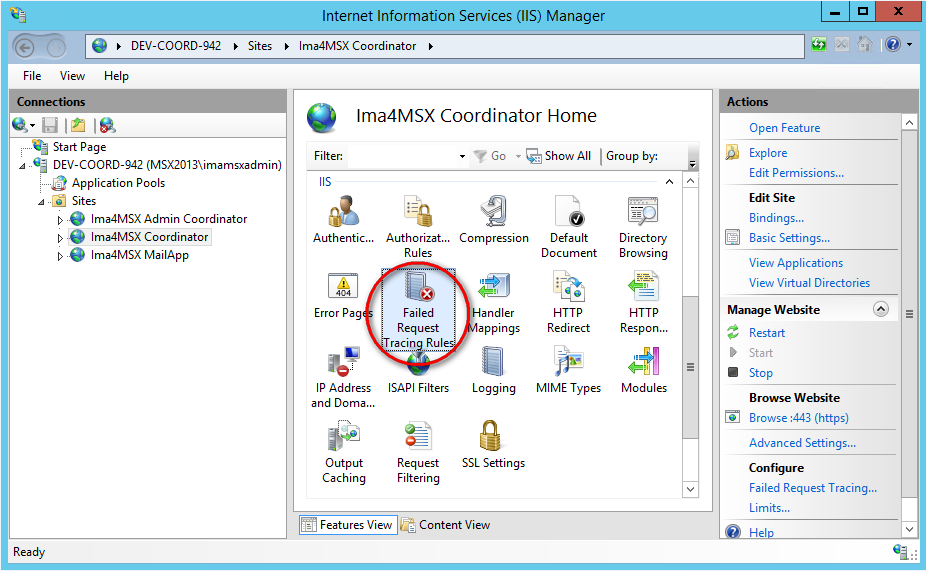
Figure 352: Failed request tracing – open tracing rules
-
In the panel Failed Request Tracing Rules, configure the list of tracing rules. Click Add to configure tracing rules.
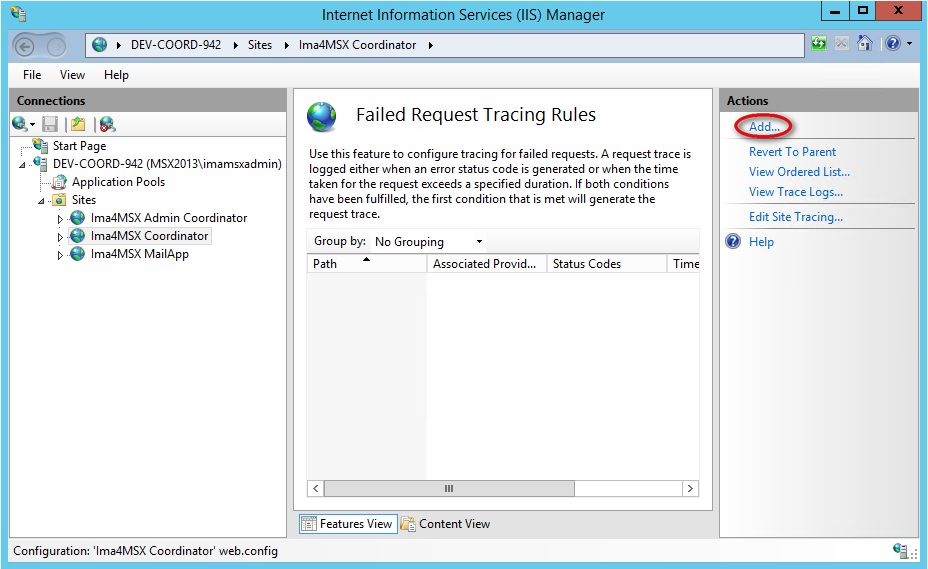
Figure 353: Failed request tracing – configure tracing rules
-
In the Specify Content to Trace dialog select the content that you want to trace, or specify Custom content in the corresponding field. Click Next.
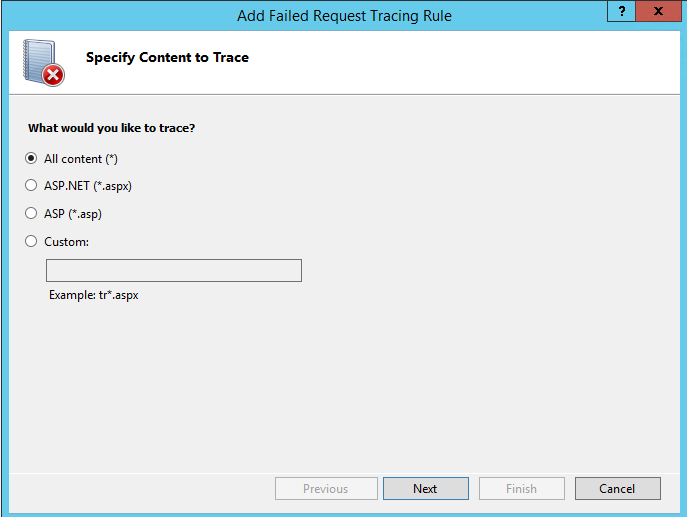
Figure 354: Failed request tracing – specify content to trace
-
In the Define Trace Conditions dialog select the conditions you want to trace. Trace conditions can include any combination of status codes, a time limit that a request should take, or the event severity. Click Next.
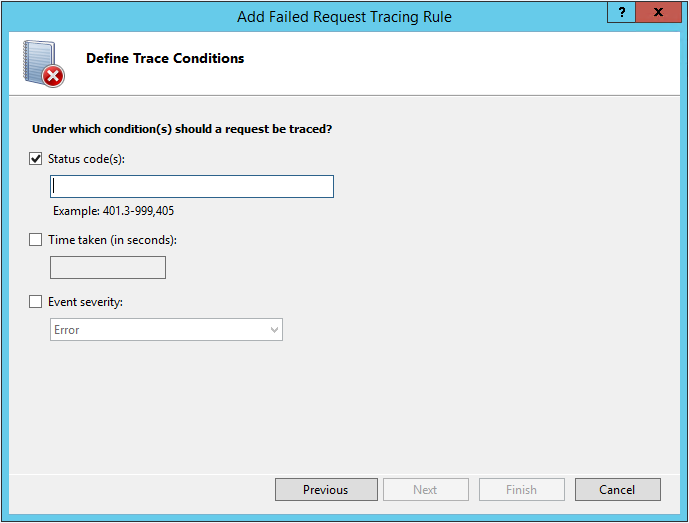
Figure 355: Failed request tracing – define trace conditions
-
In the Select Trace Providers dialog, do the following:
-
In the Providers list, select the WWW Server box.
-
In the Provider Properties drop-down, select a property of the provider.
-
Configure the selected property in the field below.
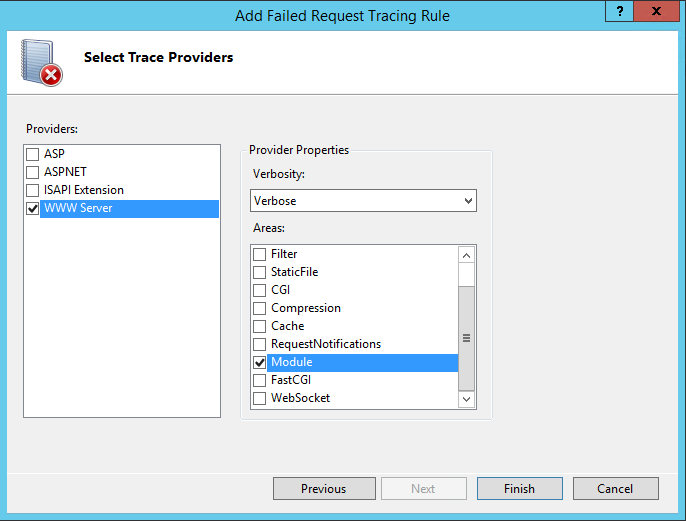
Figure 356: Failed request tracing – select providers
-
-
Click Finish to complete the setup.
The failed request tracing can also be activated for the Outlook Web Application on the Exchange server. To achieve this, do the following:
-
Open IIS for the Content Services for E-Mail.
-
Select the entry owa in the list of Sites and enable failed request tracing as described above.
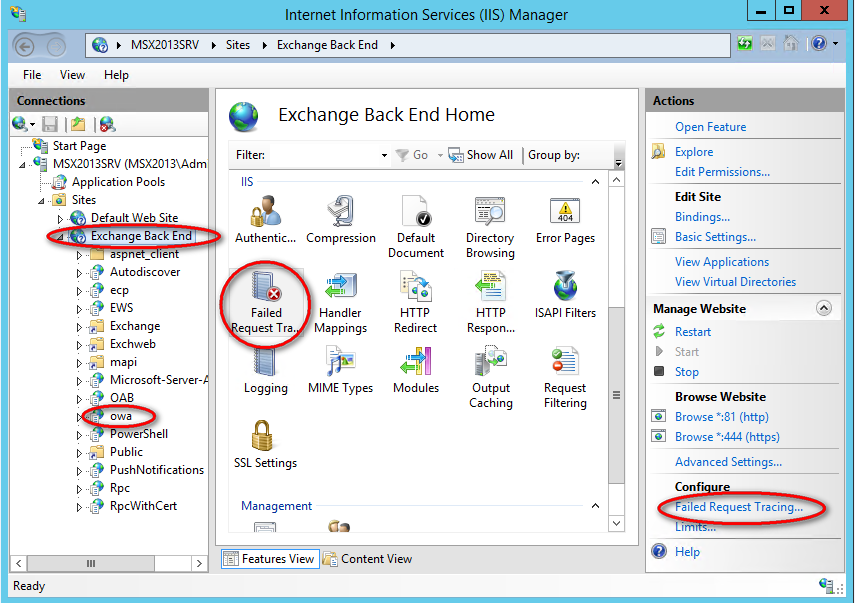
Figure 357: Failed request tracing – OWA
-