Before running the Coordinator installer the certificates must be installed.
The complete certification path must be trusted i.e. if you use an official certificate from an official trusted root authority no more actions are required. If you use an own certificate, additional certificate import actions have to be done (e.g. import the parent certificates of the own certificate, or for a self-signed certificate import this additionally to trusted root authorities). Look for related instructions on how to install or generate self-signed certificates in the [IM ImageMaster].
To install a certificate do the following:
-
Open the certificate console. Select the ImageMaster certificate from the list and click Install PFX from the context menu:
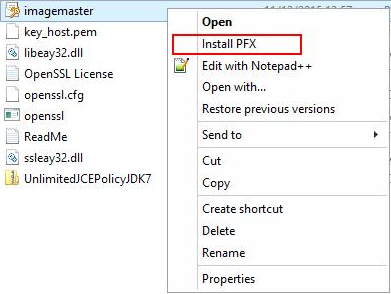
Figure 324: Certificate console – install PFX
-
The certificate import wizard appears. Select the local machine as store location and click Next to proceed.
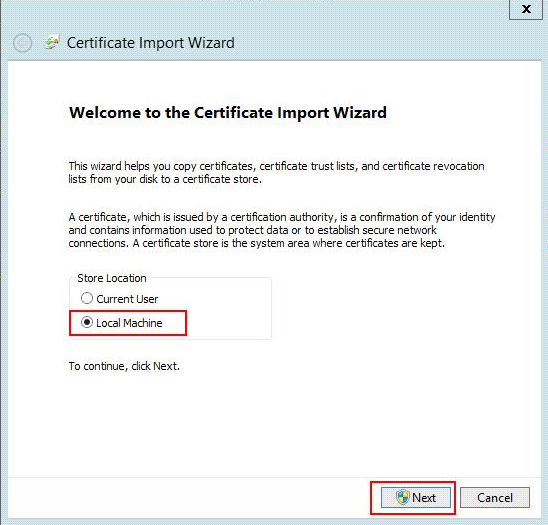
Figure 325: Certificate import wizard – store location
-
Specify the file you want to import and click Next.
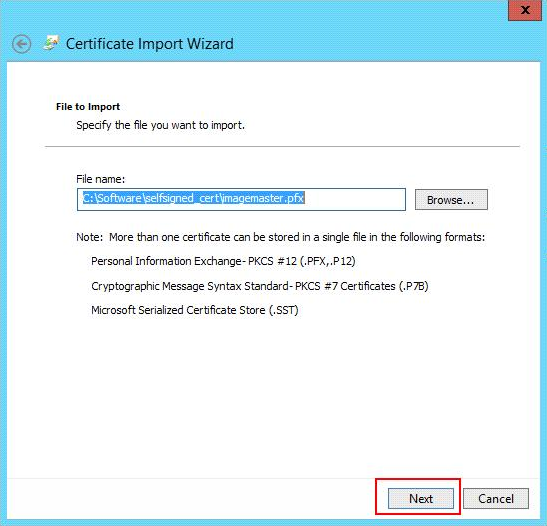
Figure 326: Certificate import wizard – certificate file
-
Enter the password for the private key and optionally specify import options. Click Next.
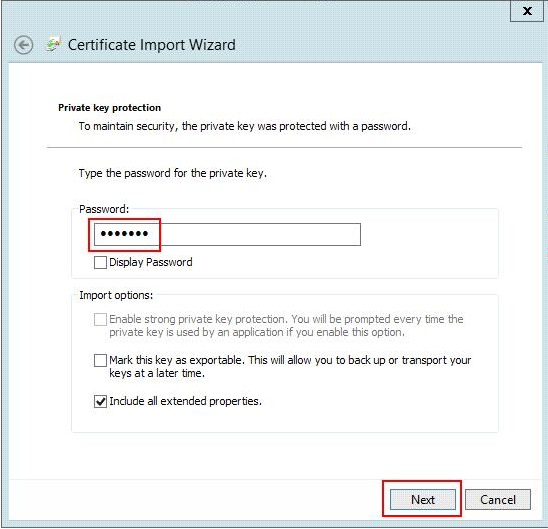
Figure 327: Certificate import wizard – private key password
-
Select the option Place all certificates in the following store.
-
Click Browse and then select the personal certificate store from the list.
-
Click Next.
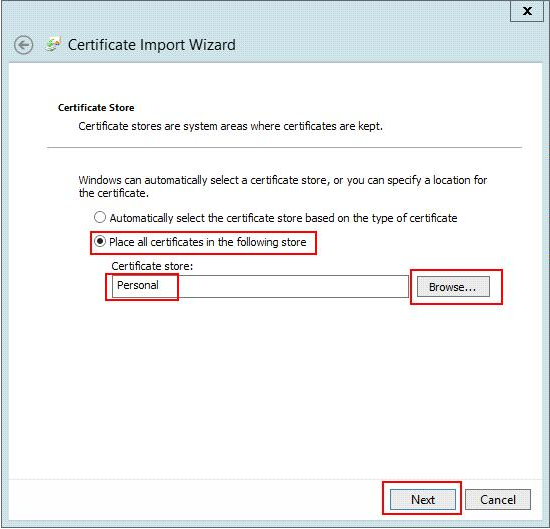
Figure 328: Certificate import wizard – certificate store
-
Complete the certificate import by clicking Finish.
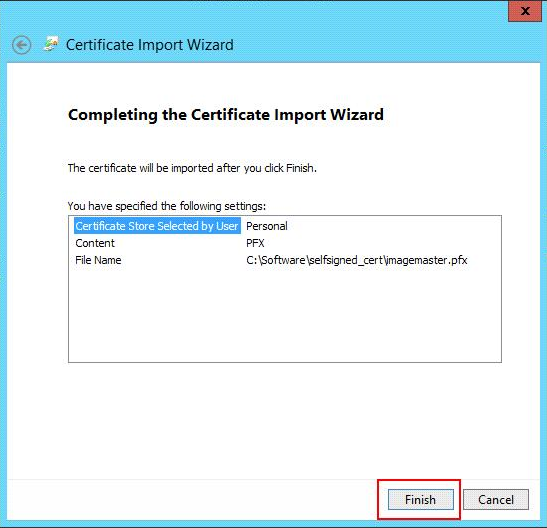
Figure 329: Certificate import wizard – confirm import
-
On success the following message appears:
Figure 330: Certificate import wizard – final screen
If SSL authentication is used for the connection between the Coordinator and Integration Service, it is necessary to install a corresponding certificate and to enable the tenant header, role, and user that are used for SSL authentication. For related information on the setup of SSL certificates also see the installation manual [IM ImageMaster].