The E-Mail Templates configuration allows you to define an arbitrary amount of mail templates and to assign them to the respective ImageMaster functionalities.
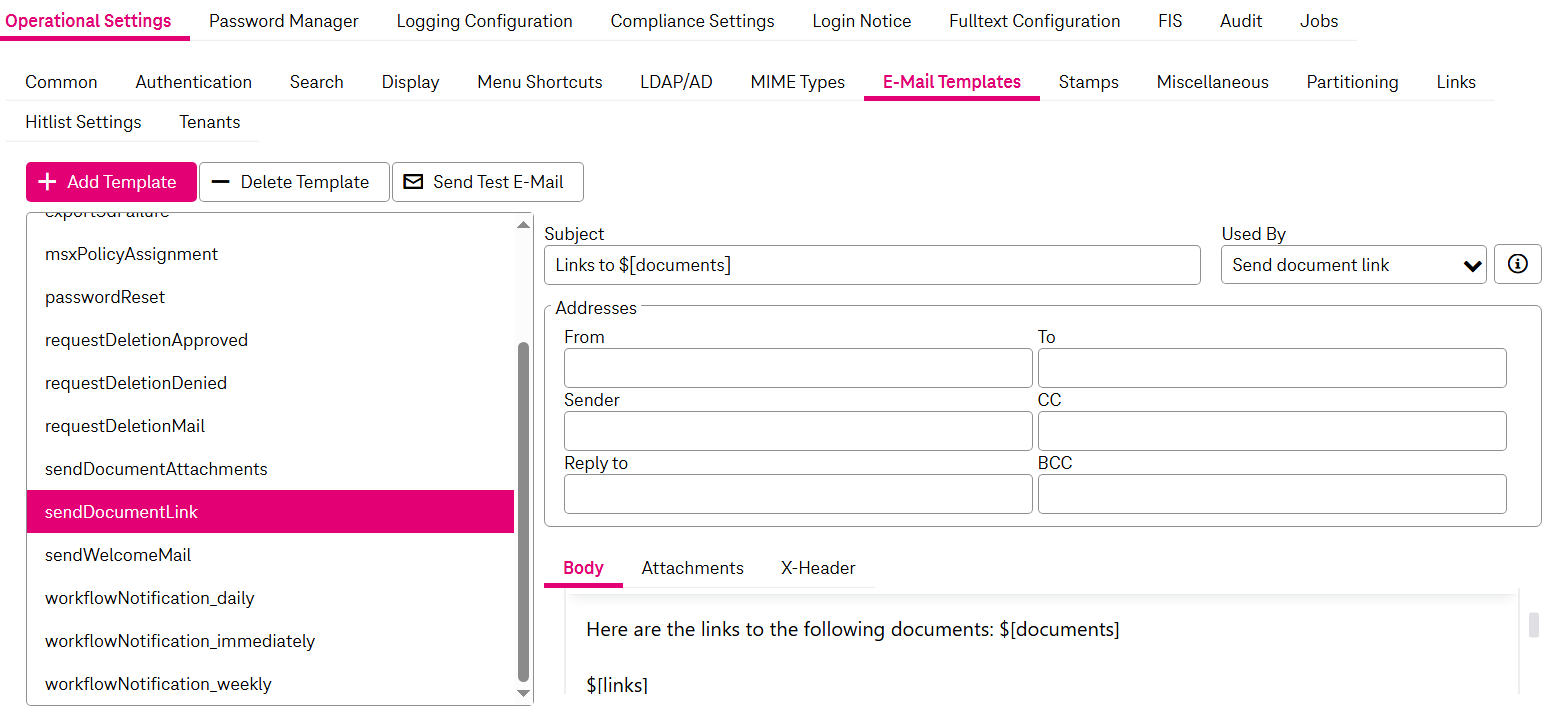
Figure 34: System – operational settings: e-mail templates
The following functions are available:
-
adding and deleting an e-mail template
-
changing an existing template
-
sending a test e-mail
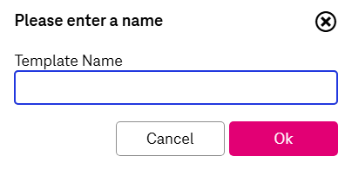
To add a new template
-
Click Add Template.
-
Enter a name and click OK.
-
Change the parameters as desired.
-
Click Save.
To delete a template
-
Select a template to be deleted by clicking the corresponding entry.
-
Click Delete Template and confirm.
-
Click Save.
To change an existing template
-
Select an existing template by clicking the corresponding entry.
-
Complete the field values. Also see table Operational settings – e-mail template parameters.
-
Mandatory fields are marked by an asterisk (*).
-
Placeholders for document attributes like &[<attribute_name>] are supported. To display the list of supported placeholders, click the info icon:

See table Operational settings – e-mail template placeholders list for the list of supported placeholders for each e-mail template. The list of placeholders is disabled if the template is not assigned to any functionality.
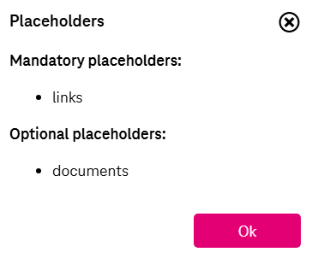
Figure 35: System – operational settings: e-mail template placeholders
-
-
A template can be assigned to a specific functionality. All available functionalities are provided in the list labeled Used by.
-
Go to the sub-tab Body to edit the body text. The body is provided as an HTML text that can be edited via an editor.
-
Go to the sub-tab Attachments to add and remove template attachments. It is possible to add up to 3 attachments to a template. Click Add Attachment and either select a file on your computer or drop it directly to the dialog window.
Attachments are displayed with their filename or ID. Either the ID or the filename has to be defined. For inline attachments, the ID is mandatory. To remove attachments, click the corresponding button Remove Attachment.
-
Go to the sub-tab X-Header to add and remove template x-headers. Enter a name and value for each x-header. You can remove x-header entries by clicking the corresponding “plus” and “minus” buttons.
-
When the configuration settings have been completed, click Save. If mandatory parameters are missing, an error message is shown. If only optional parameters are missing, you will see a notification message, but the template will be saved anyway.
To send a test e-mail
-
Click Send Test E-Mail. A dialog opens where you can enter a recipient e-mail address. If the template requires further parameters, they are listed below and you can define your own values:
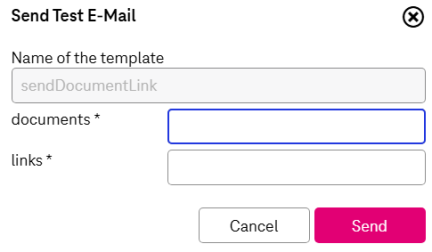
Figure 36: System – operational settings: sending test e-mail
-
Click Send to finally send the e-mail. The e-mail is sent synchronously.
Supported placeholders for each e-mail template are presented in the table below:
The template settings are listed in the table below:
|
Parameter |
Description |
|---|---|
|
Subject |
An e-mail subject |
|
From |
The sender address of a template By default the following address is predefined: imagemaster@t-systems.com |
|
Sender |
An optional address field to define a different sender address |
|
Reply To |
Address for the message reply (use a semicolon as a separator for multiple addresses) |
|
To |
Addresses to whom the e-mail has to be sent (use a semicolon as a separator for multiple addresses) |
|
CC |
Carbon copy addresses (use a semicolon as a separator for multiple addresses) |
|
BCC |
Blind carbon copy addresses (use a semicolon as a separator for multiple addresses) |