Deploy the add-in via uploading the manifest file
Since ImageMaster version 9.12.1 Microsoft Word, Microsoft Excel and Microsoft Outlook are supported. You need to deploy different manifests for different applications:
-
"imaOffice365.xml" for MS Word, MS Excel
-
"imaOffice365.Outlook.xml" for MS Outlook
The example below is based on MS Word application. In case you use both MS word and MS Outlook, you need to deploy both manifest files, i.e. proceed with steps below for each file to be deployed.
To deploy the add-in, follow the steps below in the Microsoft 365 admin center:
-
Log in to Microsoft 365:
In case of a first-time installation, proceed as described here.
To update the manifest.xml, scroll down to the Update section.
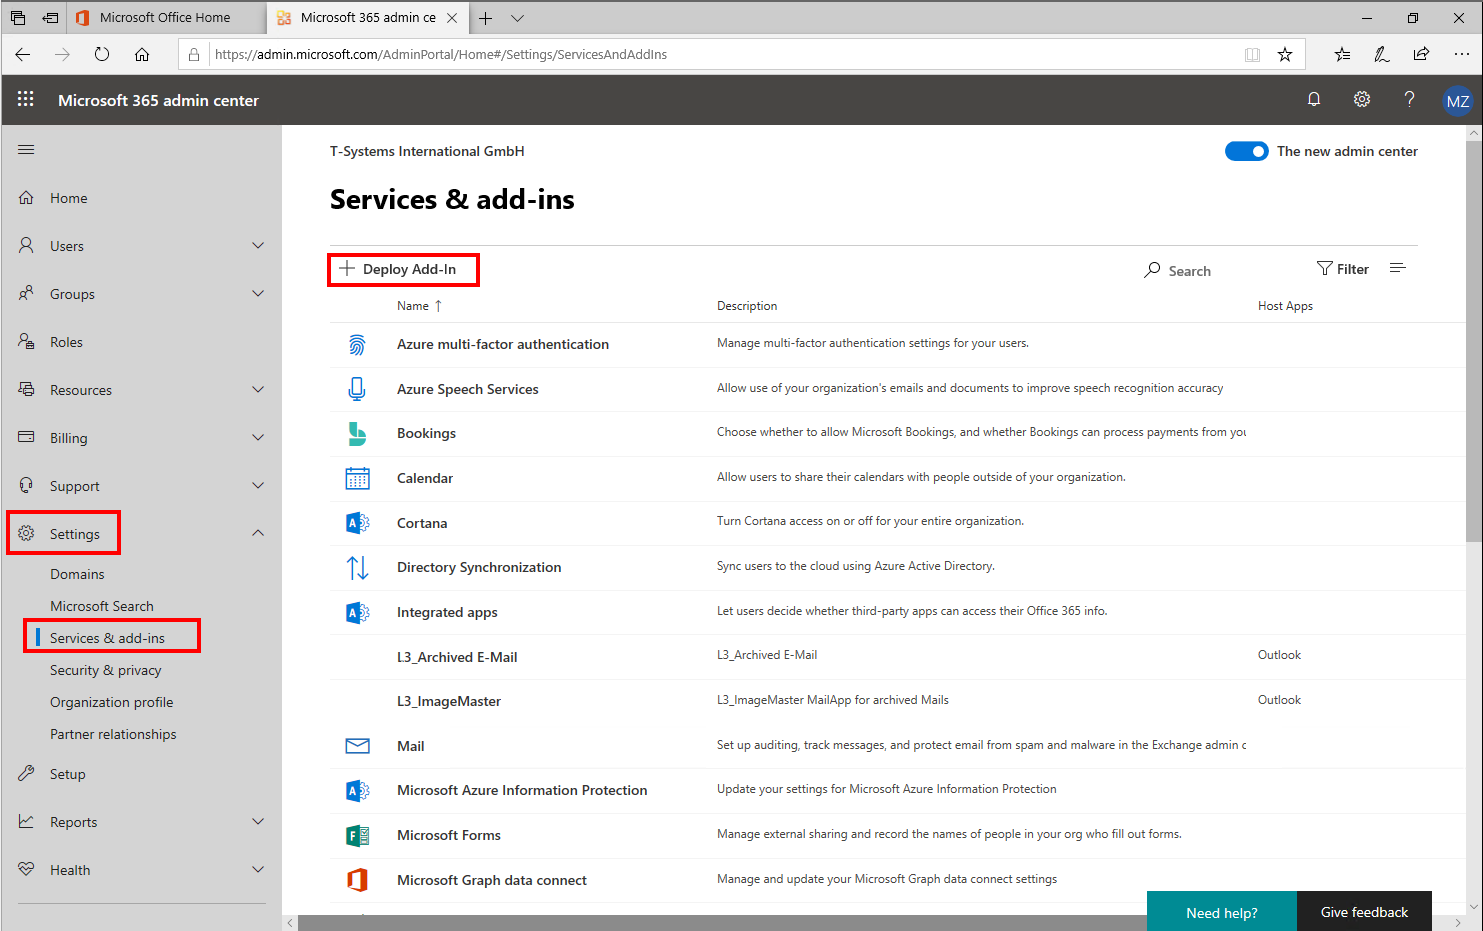
Figure 591: Microsoft 365 admin center – services and add-ins view
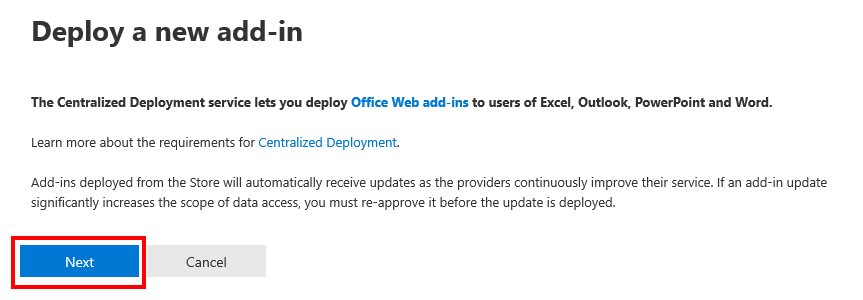
Figure 592: Microsoft 365 admin center – deploy a new add-in
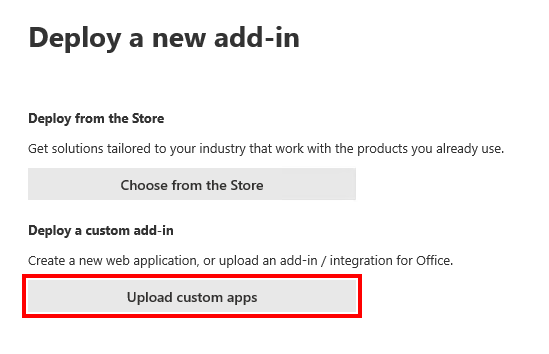
Figure 593: Microsoft 365 admin center – deploy a new add-in: upload custom apps
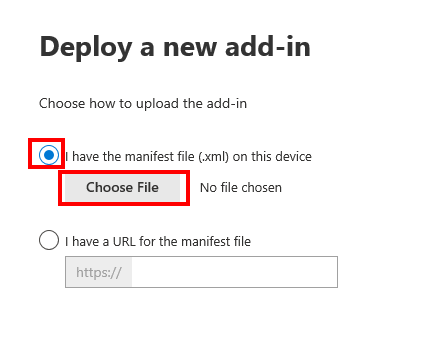
Figure 594: Microsoft 365 admin center – deploy a new add-in: upload the manifest file 1/3
-
Select the modified manifest file:
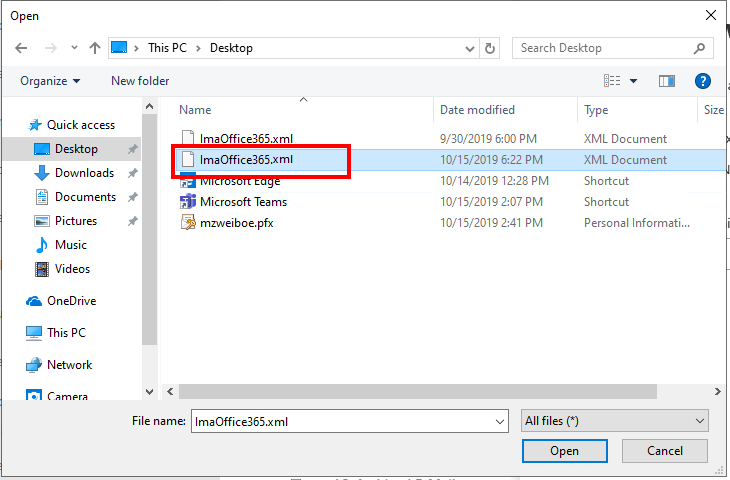
Figure 595: Microsoft 365 admin center – deploy a new add-in: upload the manifest file 2/3
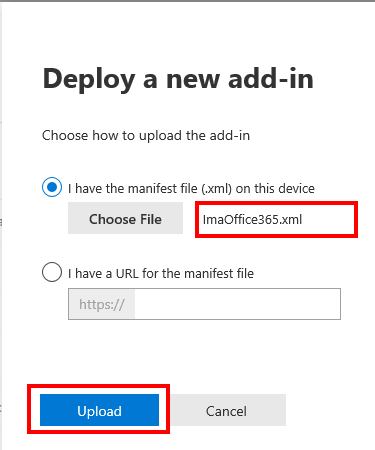
Figure 596: Microsoft 365 admin center – deploy a new add-in: upload the manifest file 3/3
-
Select the users or groups which should have access to ImageMaster:
-
In this example access to “Everyone” is granted, which should only be done on a test system.
-
With this kind of centralized deployment Microsoft only supports users in top-level groups or groups without parent groups. Users in nested groups or groups that have parent groups are not supported.
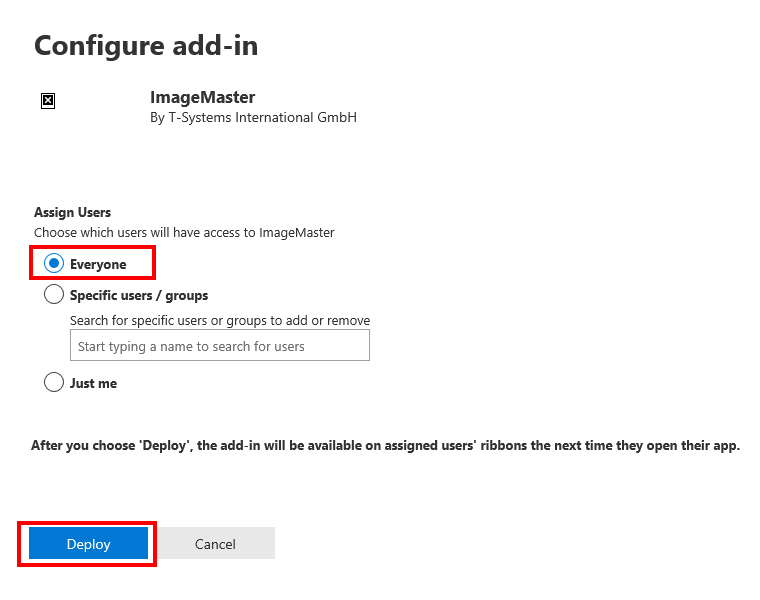
Figure 597: Microsoft 365 admin center – deploy a new add-in: assign users
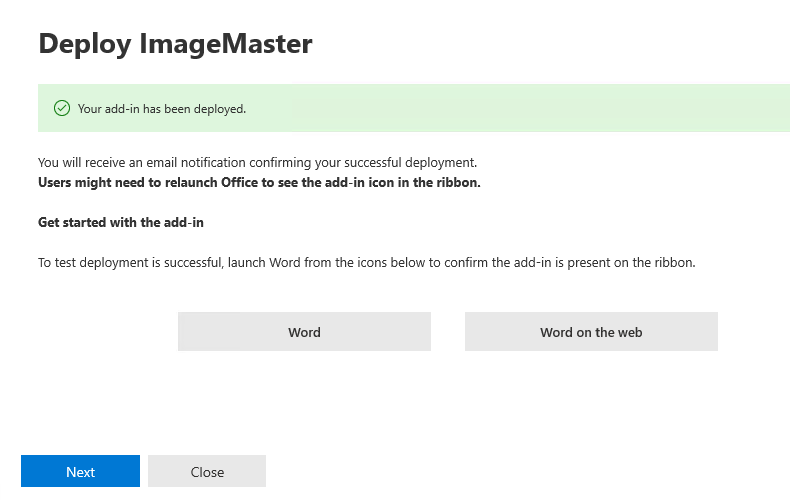
Figure 598: Microsoft 365 admin center – deploy a new add-in: success message
When ready, check the installed files under Settings > Integrated Apps. In the Name column you can check the lists of deployed manifest files. The column Host products identifies the application for which the manifest file is used.
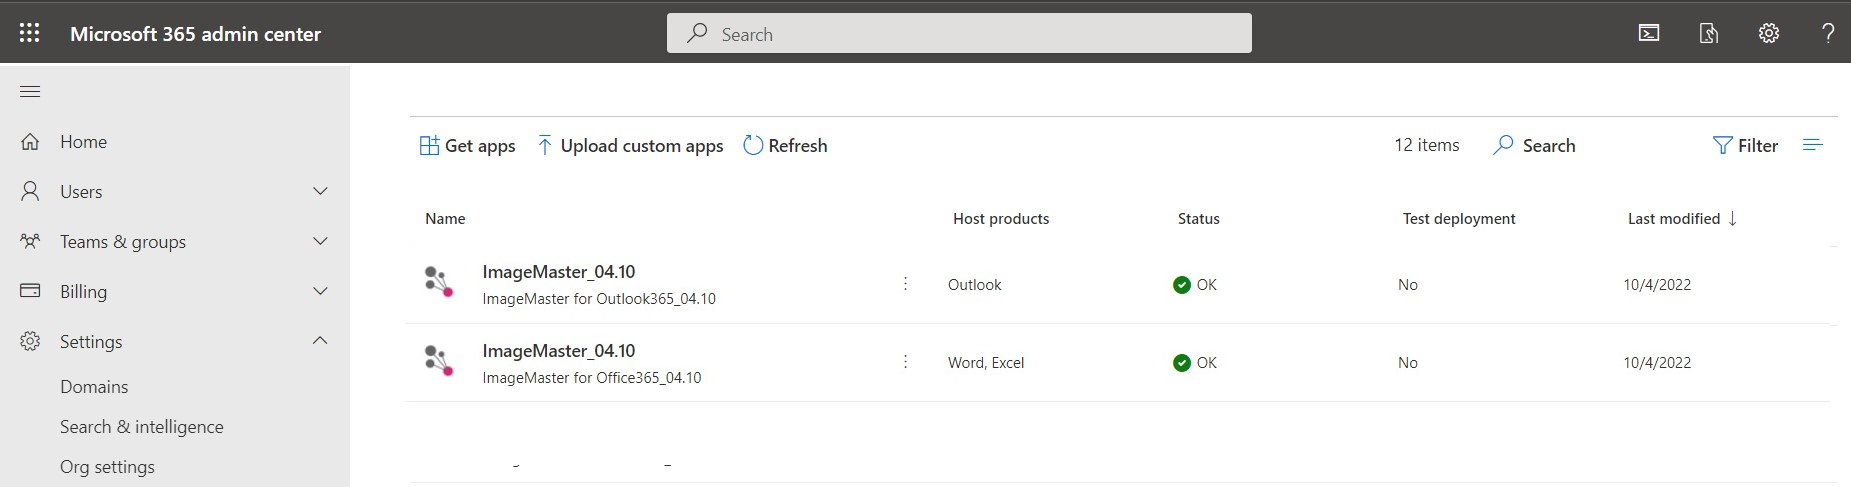
Figure 599: Microsoft 365 admin center – deploy a new add-in: list of deployed add-inns
-
Test the add-in
-
Run Microsoft Office.

Figure 600: ImageMaster ribbon group in MS Word
-
Create a new document and click "Save to ImageMaster" in the upper right ribbon area:
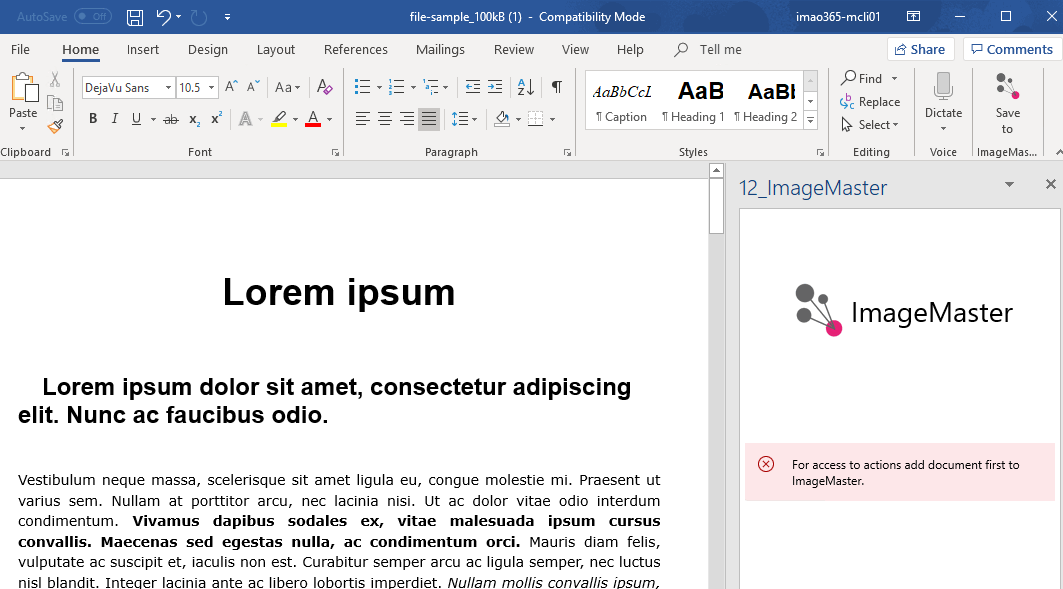
Figure 601: ImageMaster archived document opened in MS Word
The activation is complete now.