Timestamp authorities
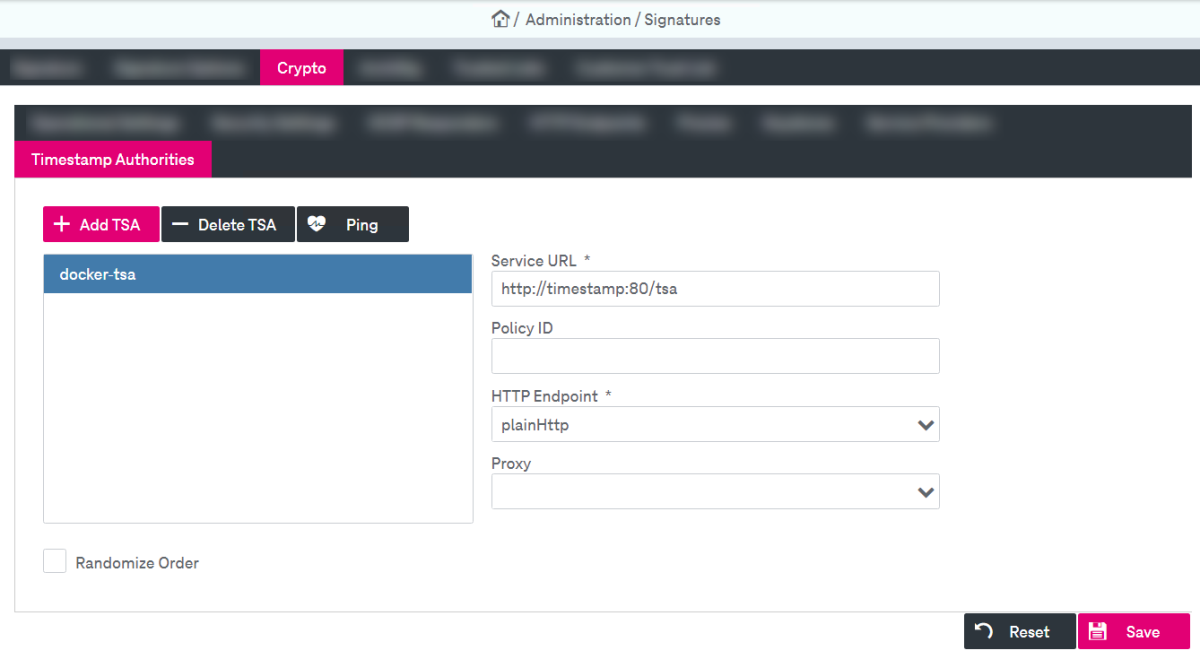
Open the Crypto tab and select the Timestamp Authorities sub-tab to display and configure the timestamp authorities.

Figure 208: Signatures – settings: timestamp authorities
-
To add a timestamp authority (TSA), click Add TSA.
-
Specify the name in the dialog and click Ok. The timestamp authority will be added to the list.
-
Configure the following timestamp authority settings:
-
Service URL: Specify the path to access the timestamp authority service.
-
Policy ID: Define the policy specifying the general requirements for trusted timestamping services.
-
HTTP Endpoint: Set the HTTP endpoint to access the timestamp authority service. For more details see HTTP endpoints.
-
Proxy: Specify the proxy settings to access the timestamp authority service. For more details see Proxies.
-
-
Select the check box Randomize Order to set the random order of TSA requests.
-
To delete a timestamp authority, click Delete TSA.
-
Click Save to finalize the settings.
-
You can check a connection to the authority by clicking Ping. A success or an error notification will appear at the top of the window.