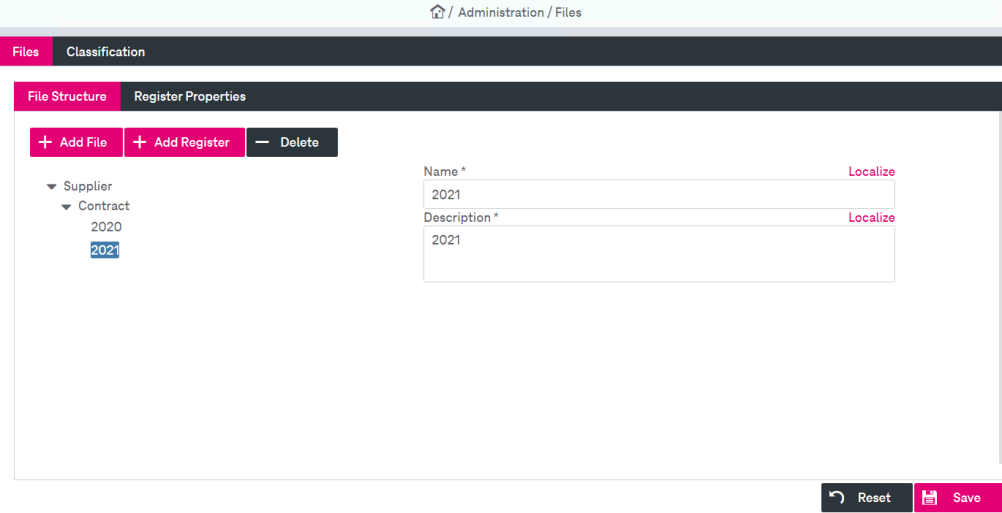
Open the Files tab and go to the File Structure sub-tab to configure static file settings.

Figure 121: Files – files
You can perform the following actions:
-
define a file tree
-
delete a file / register
-
determine a file order
To create a file, follow these steps:
-
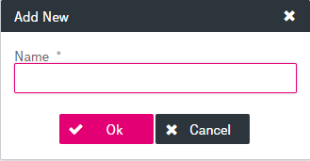
Click Add File. The window Add New will be displayed:

-
Enter a name of the file and confirm by clicking Ok.
A new top level node is created at the top of the file tree which is automatically selected.
-
Click Save.
-
Don’t forget to adjust the permissions for new files in the corresponding roles, otherwise users will not see the new files registers. See chapter File access for related details.
To add registers or delete files or registers you can also use the context menu by right-clicking an existing node.
To create a subnode, follow these steps:
-
Select the file or the node for which you want to create a subnode.
-
Click Add Register (also available as context menu entry with a right mouse click)
The window Add New will be displayed:

-
Enter the name of the subnode and confirm by clicking Ok.
The new register is created directly as a subnode of the selected file entry and added as the first subnode.
The name of a (sub)file has to be unique within the same hierarchy level. This especially has to be taken into account during file relocation.
Nodes are sorted in alphanumeric order.
-
Click Save.
To modify a node configuration, follow these steps:
-
Select the file or node from the file tree.
-
The entry fields for name and description will be displayed in the right part of the Files tab:

-
Adjust the Name and Description. Both fields are mandatory.
-
Optionally localize the name and description in the available languages (see Localization for related details).
The name that you have to provide by creating a register or a file is the technical node name that cannot be changed later anymore.
The changed or localized name will be displayed in the file view and the description is used later as a tooltip in the file view.
-
Click Save.
-
Select a file or register from the file tree.
-
To expand or collapse the file tree, use the navigation arrow near the corresponding file.
-
Click Delete (also available as context menu entry with a right mouse click) and confirm.
If the selected file (or one of its registers) contains at least one document reference, a second confirmation dialog appears. For information on adding documents to a file, see Working with document attachments [UM WorkplaceClient].
If the currently selected file node has subnodes, the file will be deleted with all subfiles.
-
Confirm the deletion by clicking Ok.
-
Click Save.
To determine a file order
The order of the files within a dedicated file node determines their order when they are displayed in the file view. By default, files are sorted in alphanumeric order.
-
To move a node up and down in the list:
Select a node and move it pressing the Shift key in combination with the UP and DOWN key.
-
To move a file node within the tree:
Select a node and move it to the desired node using drag and drop with the mouse.