Executing the Coordinator installer
Prerequisites for Coordinator installer configuration
During the installer execution, some parameters for connecting to the Administration web service have to be provided. The connection is established by basic authentication. This authentication requires an ImageMaster user with an associated password and enough permissions for the ImageMaster Administration web service operations to be set up on a dedicated port. Make sure that this ImageMaster user is set up to have the connection parameters ready in the following procedure.
The Coordinator can either be installed by a command line call, where the parameters are specified beforehand, or with interactive installation dialogs. The first method is suited for an automated or scripted installation.
Command line installation
The installation is based on a Windows installer where the following syntax applies:
msiexec.exe /L*V install.log /qn /i Ima4MSX_Coordinator_Setup.msi <param1>=<value1> <param2>=<value2> ...
For details also see [MS Command Line Options].
The table below lists the supported installation parameters, where some placeholders in square brackets are given in the default value illustrations:
|
Parameter |
Default value |
Description |
|---|---|---|
|
ACCEPTEULA |
|
Microsoft EULA agreements if missing, the installation will be terminated |
|
APPDIR |
[ProgramFilesFolder]\ |
installation folder for Windows services |
|
LOG_DIR |
[WindowsVolume]\ |
log files folder |
|
TMP_DIR |
[WindowsVolume]\ |
temporary files folder |
|
IIS_IMA4MSX_DIR |
[WindowsVolume]\ |
installation folder for web services |
|
IMA4MSX_DOMAINUSER |
[Coordinator Domain]\ |
user including domain prefix for running Windows services and web services |
|
IMA4MSX_PASSWORD |
|
password for running Windows services and web services |
|
AMOUNT_VIRTUAL_BATCH_ARCHIVER |
1 |
amount of virtual Batch Archiver services [1, 10] |
|
AMOUNT_VIRTUAL_FINAL_ARCHIVER |
1 |
amount of virtual final archiver services [1, 10] |
|
IMA_URL |
|
URL of ImageMaster Administration service; typical pattern: https://<host>:<port>/ |
|
IMA_USER |
|
user for administration service |
|
IMA_PASSWORD |
|
password for administration service |
|
IMA_TENANT |
|
tenant for administration service |
|
ODBC_CONNECT_STRING |
|
ODBC connection string for job database |
|
CREATE_DB_TABLES |
0 |
if set to 1, database tables will be (re-)created automatically in the given database |
|
WS_SITE_ID |
2 |
website ID for WSCoordinator in IIS |
|
WS_CRED_TYPE |
Basic |
authentication type for WSCoordinator (Basic or None) |
|
WS_DOMAIN_USER |
|
user including domain prefix for authentication to WSCoordinator |
|
WS_HTTPS_PORT |
443 |
port for WSCoordinator |
|
WS_ADMIN_SITE_ID |
3 |
website ID for WSAdminCoordinator in IIS |
|
WS_ADMIN_CRED_TYPE |
Basic |
authentication type for WSAdminCoordinator (Basic or None) |
|
WS_ADMIN_DOMAIN_USER |
|
user including domain prefix for authentication to WSAdminCoordinator |
|
WS_ADMIN_HTTPS_PORT |
44301 |
port for WSAdminCoordinator |
|
WS_MAIL_APP_SITE_ID |
4 |
website ID for WSMailAppCoordinator in IIS |
|
WS_MAIL_APP_HTTPS_PORT |
44302 |
port for WSMailAppCoordinator |
|
FQHN |
[Fully qualified host name] |
fully qualified host name of current machine |
|
CERT_COORD |
|
thumbprint of certificate used for WSCoordinator |
|
CERT_ADMIN_COORD |
|
thumbprint of certificate used for WSAdminCoordinator |
|
CERT_MAIL_APP_COORD |
|
thumbprint of certificate used for WSMailAppCoordinator |
|
ARCHIVED_MAIL_APP_ID |
224afd40-97d2-4f83-9aef-80e5c3d133b0 |
ID of Archived MailApp for manifest file |
|
MAIL_APP_ID |
ca853f5d-6a33-4be2-9b97-8ab3b0220967 |
ID of ImageMaster MailApp for manifest file |
|
MAIL_APP_HOST |
[FQHN] |
host name of WSMailAppCoordinator used in manifest file |
|
MAIL_APP_PORT |
44302 |
port of WSMailAppCoordinator used in manifest file |
|
GENERATE_IDS_PROP |
true |
if set to true, IDs for MailApps will be created randomly |
|
Table 229: Parameters for command line installation |
||
Installation with interactive dialogs
To install the Coordinator with an interactive dialog sequence, follow the steps below.
-
Go to the deployment package directory “Coordinator” and double-click on Ima4MSX_Coordinator-Setup.exe.
If .Net and Microsoft Identity Extensions are already installed, the following steps will be skipped.
-
On the first .Net installation screen, accept the license terms and click Install:

Figure 331: .net installation – accept license agreement
The .Net installation starts:
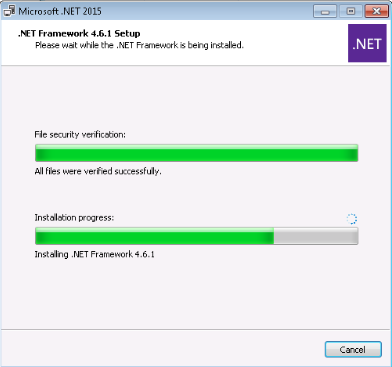
Figure 332: .net installation in progress
-
When the .Net installation is complete, click Finish:
Figure 333: .net installation is complete
-
Install the Microsoft Identity Extensions. Accept the terms and click Install:
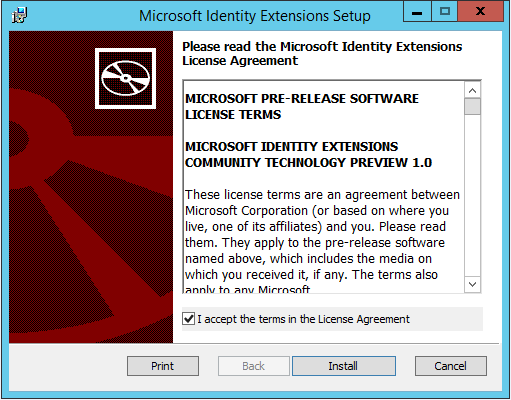
Figure 334: Installation – accept license agreement
-
When the Microsoft Identity Extensions installation is complete, click Finish:
Figure 335: Microsoft identity extensions installation is complete
-
Now the Coordinator web service setup wizard starts. Click Next to continue the installation process:
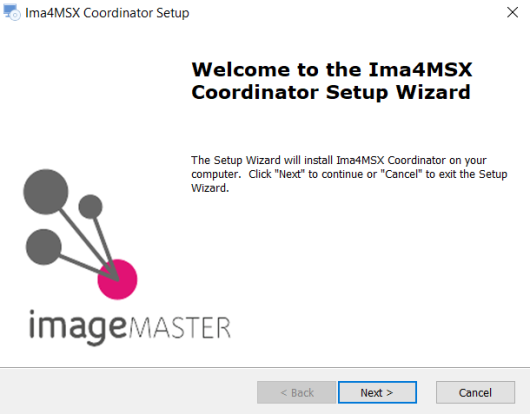
Figure 336: Coordinator setup – welcome screen
-
Read the Microsoft license agreement. Accept the terms in the license agreement and then click Next:
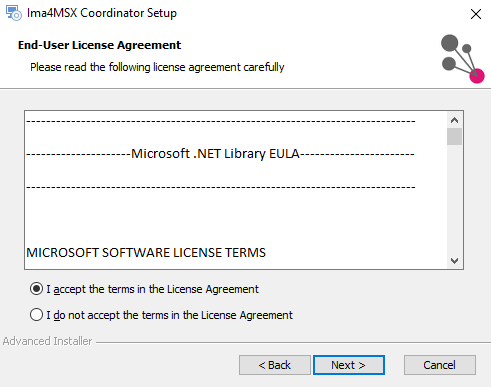
Figure 337: Coordinator setup – end user license agreement
-
Set the installation, log, and temporary data folders and then click Next:
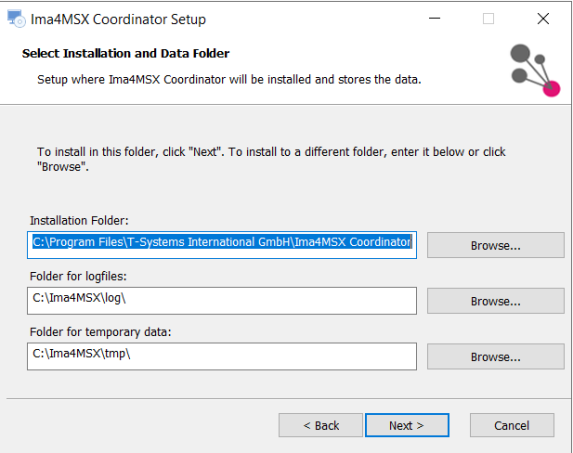
Figure 338: Coordinator setup – installation folder
-
Define the Ima4MSX User parameters based on the following values:
-
Coordinator domain
-
User (for Coordinator domain)
-
Password
Set the amount of processes for the Batch Archiver and Final Archiver for one Coordinator.

Figure 339: Coordinator setup – user parameters
-
-
To validate the Ima4MSX user credentials, click the Test button.
A success message should be displayed:

Figure 340: Coordinator setup – user test
Click OK to close the window and Next to proceed.
-
Define the connection parameters for the ImageMaster AdminService based on the following values.
The user credentials (user and password) refer to an ImageMaster user (also see “Prerequisites for Coordinator installer configuration”):
-
Protocol
-
Server
-
Port
-
ImageMaster 9 User
-
ImageMaster 9 Password
-
Tenant (see chapter Multi-tenancy)
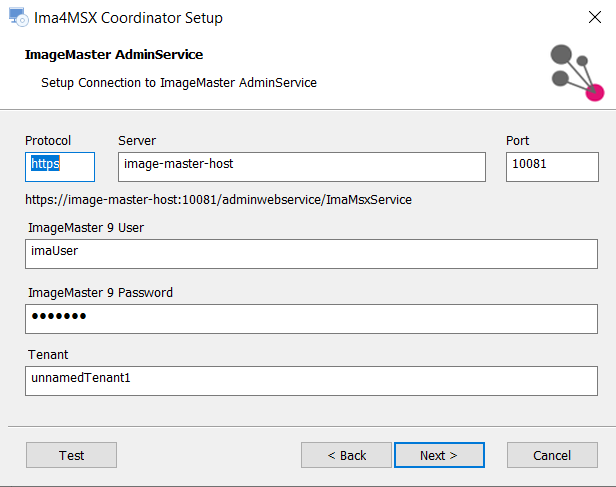
Figure 341: Coordinator setup – ImaAdminService connection details
-
-
To validate the ImageMaster connection, click the Test button.
A success message should be displayed:
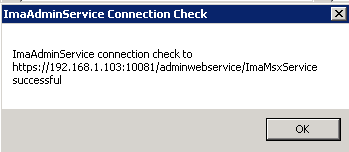
Figure 342: Coordinator setup – ImaAdminService connection test
-
Click OK to close the window and Next to proceed.
-
Set the ODBC driver, define the Job Database settings and generate the Connection String:
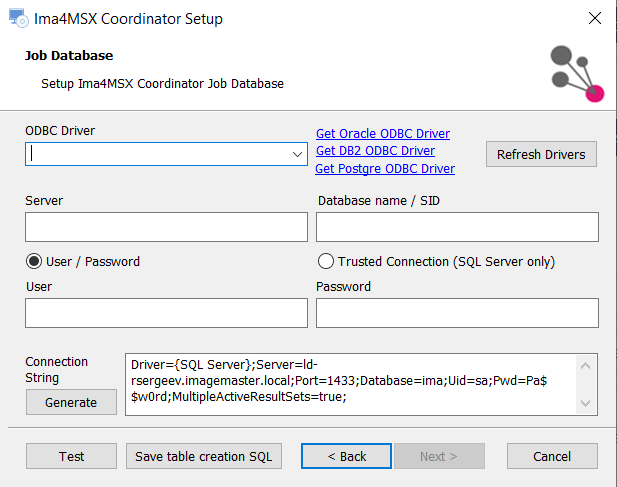
Figure 343: Coordinator setup – job database
The links can be used to download drivers for non-MS SQL Server databases, whereas drivers for MS SQL Server should already be available on a Windows server.
Copy the Connection String as it is required for the Coordinator configuration in the ImageMaster AdminClient. For PostgreSQL, however, consider the below particularity that applies for the 64 bit version!
Ensure that you have installed the 64 bit versions of the ODBC drivers.
The 64 bit version is required for Coordinator connections later in production, and the correct connection string must be set in the AdminClient.
For PostgreSQL in the AdminClient setup use:
Driver={PostgreSQL Unicode(x64)};Server=…
-
To save the SQL statements which are used to create the database tables with the current database connection settings, click the button Save table creation SQL and select the folder where the file will be saved.
To validate the ODBC connection, click the Test button.
If not all required tables exist, confirm the creation of the missing database tables:
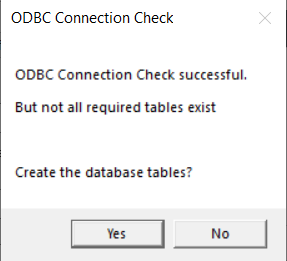
Figure 344: Coordinator setup – ODBC connection test: create required database tables
Note that the Next button in the Job Database dialog is enabled only if the ODBC connection has been validated (Test button) or table creation SQL script has been saved to file (Save table creation SQL button).After successfully creating the database tables, the connection can be tested once again. On success the corresponding window appears:
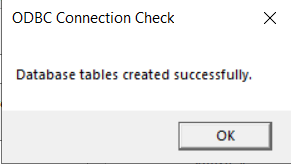
Figure 345: Coordinator setup – ODBC connection test: successful
-
Define the Coordinator WebService, AdminCoordinator WebService, and the MailApp parameters and click Next:
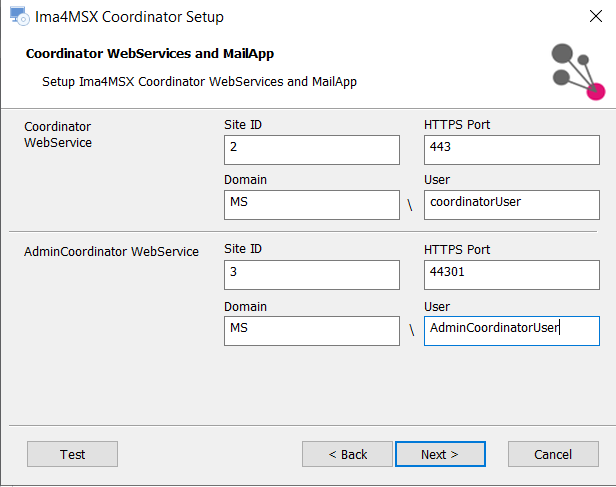
Figure 346: Coordinator setup – Coordinator web services and MailApp parameters
-
Choose preinstalled certificates for each ImageMaster Content Services for E-Mail Coordinator web component from the lists and click Next:
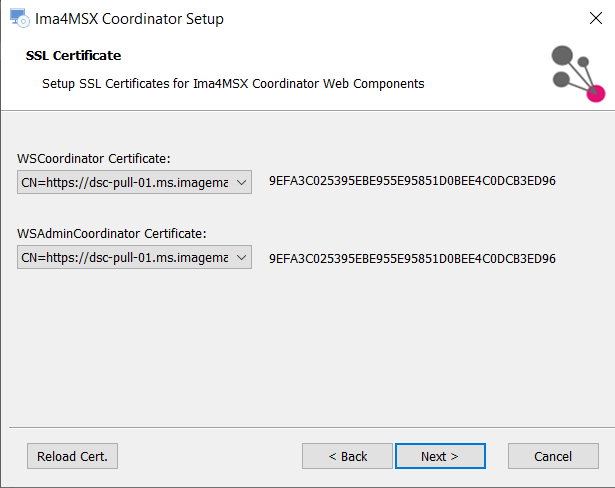
Figure 347: Coordinator setup – SSL certificate
The WSCoordinator certificate must be trusted by the ImageMaster application. For more information see Installing certificates and look for instructions on how to install or generate self-signed certificates in the [IM ImageMaster].
-
Confirm the start of the installation process by clicking Install:
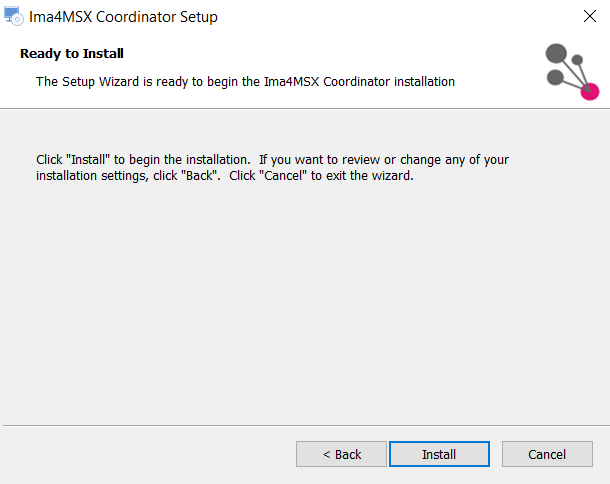
Figure 348: Coordinator setup – confirm installation
-
Wait till the installation is complete and click Next:
Figure 349: Coordinator setup – installation progress bar
-
On success, click Finish, to complete the installation process.