Obtain the installer “ImaOffice365.Installer”:
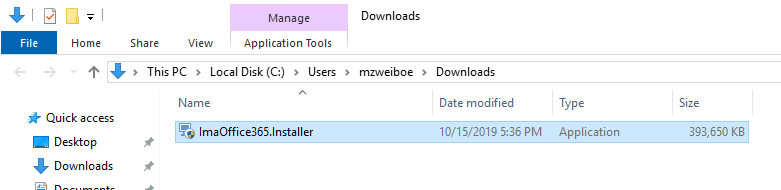
Figure 646: ImaOffice365.installer application
Execute the installer.
Instead of the following wizard-based installation, as an alternative an unattended installation is supported: Unattended OfficeClient Coordinator installation
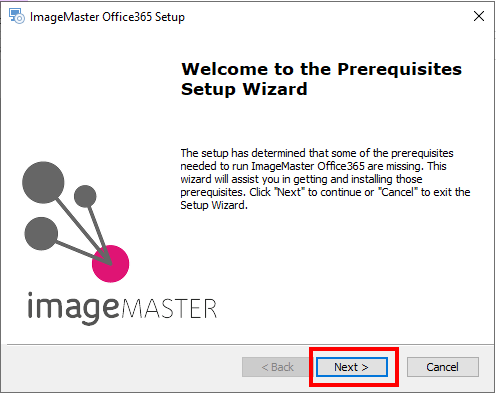
Figure 647: OfficeClient.installer — prerequisites setup wizard
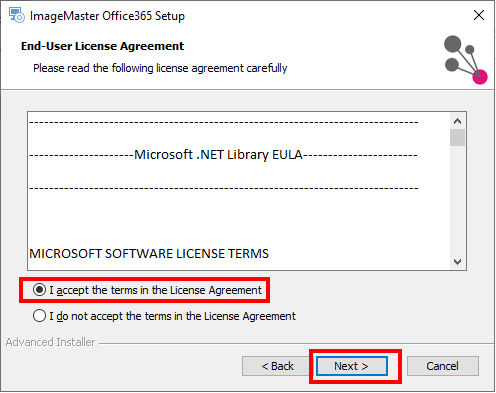
Figure 648: OfficeClient.installer — EULA agreement
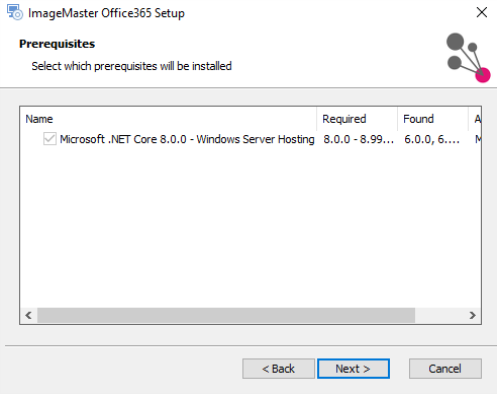
Figure 649: OfficeClient.installer — select prerequisites
Starting from ImageMaster 9.13.2.3 and beyond, the .Net runtime is not included with the OfficeClient assembly file, and it is not installed by the OfficeClient installer anymore. The .NET runtime is a prerequisite and the needed version must be installed manually. If there are minor versions or patches available for this .Net major version, which are recommended by Microsoft for important error corrections and component upgrades, you should use the latest stable minor (patch) version with ImageMaster OfficeClient.
If the prerequisites are not met, the user will be prompted to manually install the necessary files:
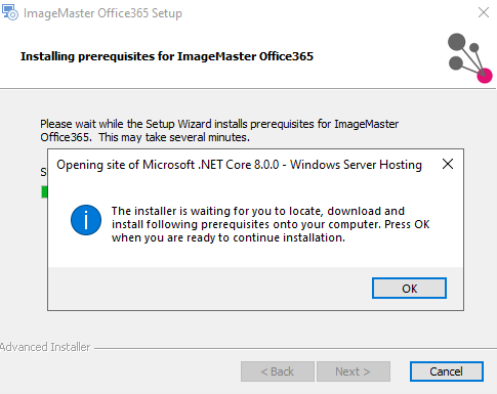
Figure 650: OfficeClient.installer — install prerequisites
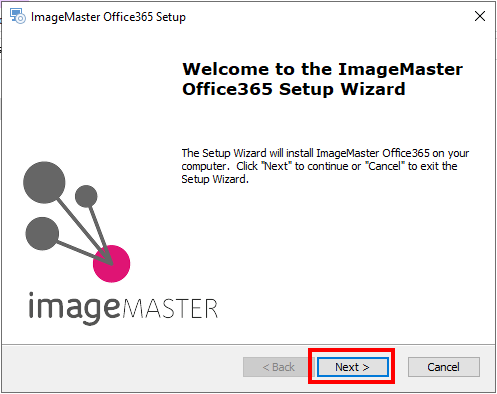
Figure 651: OfficeClient.installer — setup wizard
Get thumbprint of SSL certificate:
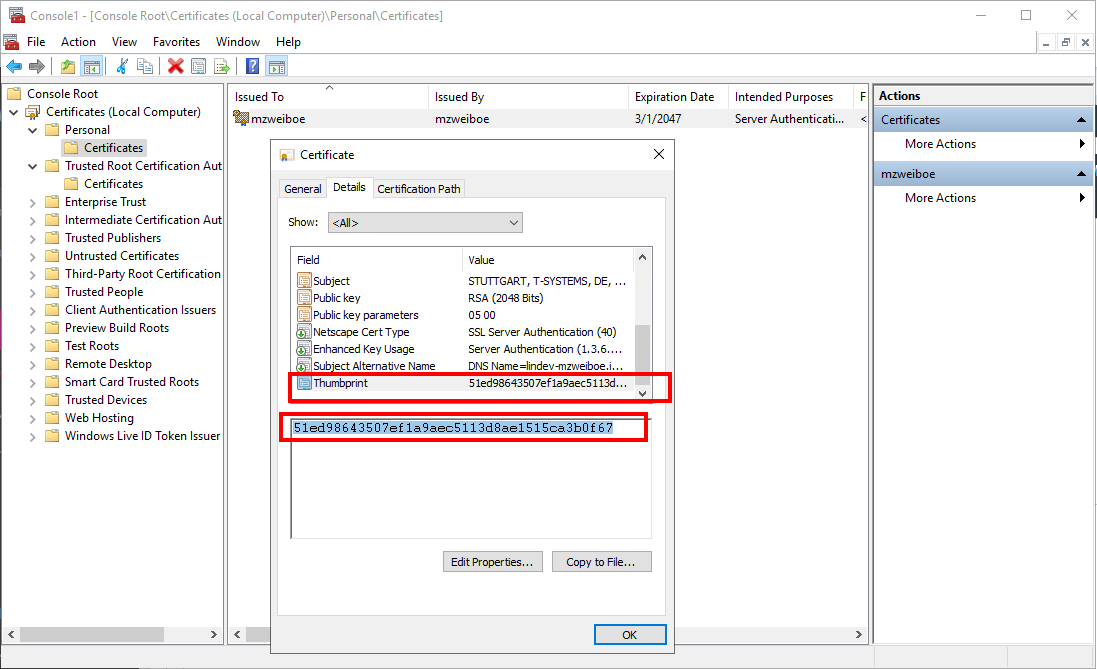
Figure 652: Get thumbprint of SSL certificate
Get ImageMaster tenant name:

Figure 653: ImageMaster AdminClient — operational settings: obtain tenant name
IIS connection settings
Specify parameters for connection to the IIS:
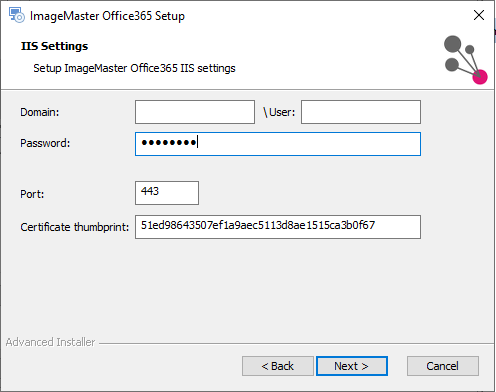
Figure 654: OfficeClient.installer — IIS settings
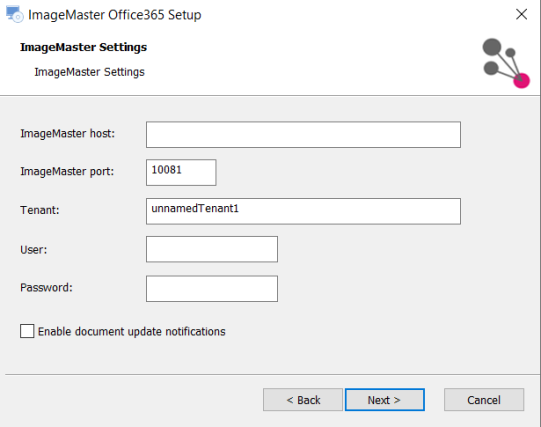
ImageMaster connection settings.
Note that you need to enter credentials. of the user that is required to read OfficeClient configuration. See ImageMaster – create service accounts for more details on required users and permissions.
If you have a single application server environment, select the option: Enable document update notifications. Do not select this option in an environment with a load balancer (also see Document update notifications).
Before installing the OfficeClient coordinator you need to register a new Azure Active Directory application that can be used with the role-based access control. For more information see Add-in registration with Azure. Copy the connection values created during the registration. The following mapping is used:
-
Tenant ID: directory (tenant) ID
-
Client ID: application (tenant) ID
-
Password: client secret value
The present step is obligatory for proceeding with installation procedure even if you do not use OfficeClient application with Outlook. In the later case you can enter any credentials to be able to proceed, e.g.:
- Tenant ID: tenant
-
Client ID: client
-
Password: password
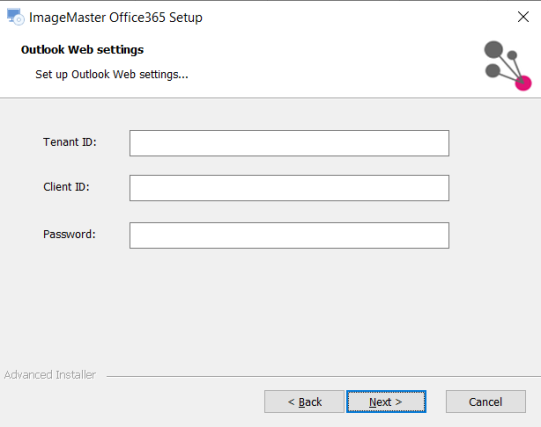
Figure 656: OfficeClient.installer — Outlook Web settings
Select the folder where the OfficeClient will be installed and click Next:
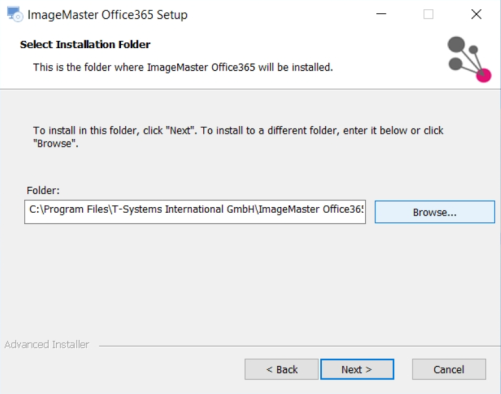
Figure 657: OfficeClient.installer — installation folder
The window will be displayed stating that the OfficeClient is ready to be installed. Click Install to proceed.
If you want to verify the installation parameters, click Back.
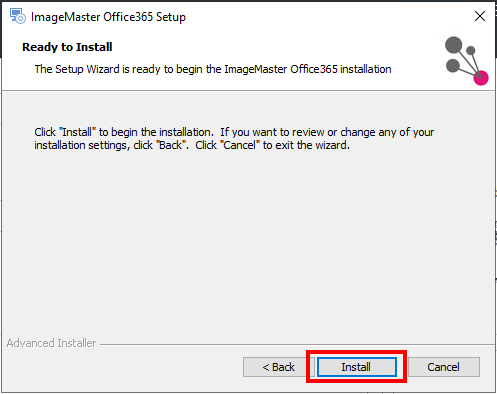
Figure 658: OfficeClient.installer — trigger installation process
Figure 659: OfficeClient.installer — complete installation